How to Burnish Leather Without Tools
Crafting leather products typically requires the cutting of leather, which can often leave loose fibres on the edges. Therefore, it’s important to burnish the ends well, as this helps to trim the leather fibres and lays them down, while a compound provides it a gleaming look.
However, not all leather crafters always have the right tools with them. This is especially true if you’re just starting out with leather making. While I recommend using appropriate tools, it’s not always necessary and you’ll be able to burnish leather without any tools.
Here is a quick summary on how you can do this:
- Brush the Edges With an Abrasive Material
- Apply a Compound On the Leather Edges
- Rub Edges With a Hard Material or Object
- Let Your Leather Dry
In this guide, we’ll be looking at a detailed step-by-step process on how to burnish your leather edges, without the help of any tools.
1. Brush the Edges With an Abrasive Material
The first thing you’ll need to do is find any abrasive material to brush the edges of your leather. Typically, you’d be using a hand burnisher or a dremel tool for this, but since this guide will teach you how to burnish your leather edges without any tools, you can use any type of abrasive material.
For this, I recommend either emery cloth or sandpaper. Both of these abrasives will get the job done nicely. The goal here is to trim some of the leather fibres and also push them down against the leather melting them together.
Using fine grade sandpaper of about 180 grits or higher would be ideal. Simply use your choice of abrasion material and lightly run it across the edges, without applying too much pressure. Use quick and light strokes here.
The heat caused by the friction will bind the fibres to the leather, creating a nice and refined edge.
2. Apply a Compound On the Leather Edges
Now, that the edges are smoothened and the loose fibres are trimmed, you can start the burnishing process. Here, it’s best to use a compound of your choice, which helps the leather edges to harden and also to give it that polished look towards the end of the process.
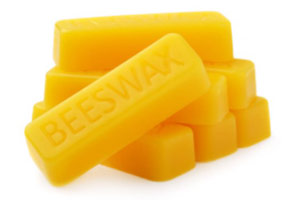
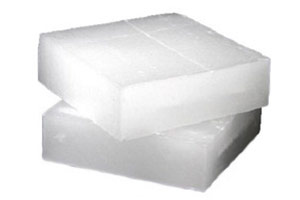
If you happen to have any product available, you may want to go for either paraffin wax or beeswax. Both of these compounds are great and give your product a nice gleaming look. You can even use gum tragacanth if you have it.
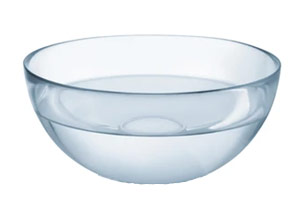
However, water is perfectly fine as well. There is often a perception that using water is not suitable for burnishing leather, but it’s perfectly fine and does a great job.
Now, simple apply the compound along the edge of your leather, while keeping the following in mind:
- Apply the right amount – whether you’re using paraffin wax, beeswax or water, don’t drown the leather in it. Instead, apply a little layer along the edges, so that it’s left damp, not wet.
- Apply it evenly – if you’re using paraffin wax or beeswax, simpy run the leather edge against the wax block evenly. If you’re using water, simply put the tip of your finger into a bowl of water and lightly run it across the leather edges.
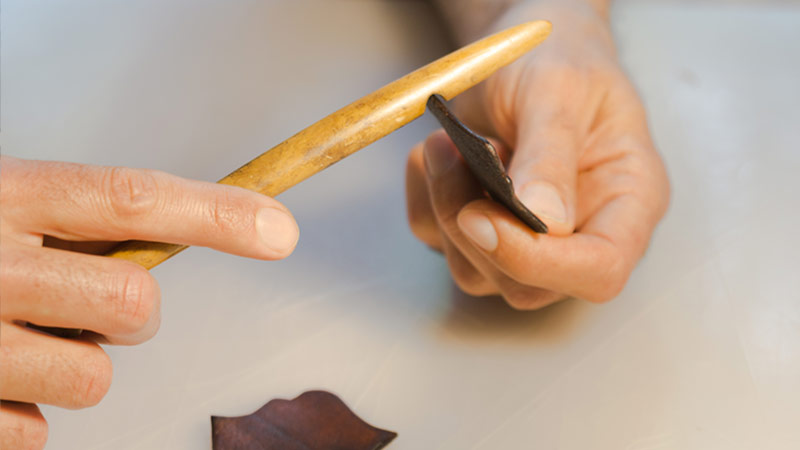
3. Rub Edges With a Hard Material or Object
Now, you’ll need to take a hard material or object and run this against the edge of your leather. It’s important not to use anything that has abrasive properties, or you’ll end up removing the compound. Here, anything with a smooth and hard surface will suffice.
Typically you’d be using a dremel or a hand burnishing tool for this, but since you won’t have any at your disposal, any hard object is appropriate. I personally use a wooden handle, like that of a shaving brush.
You’ll now want to apply a little bit of pressure on it and rub it against the leather edges. Over time, you’ll see the leather darken and it will eventually come to a shine, depending on the compound that you used.
- Water: darken, light shine
- Paraffin Wax: slightly darken, heavy shine
- Beeswax: slightly darken, heavy shine
Apply short strokes with a little bit more pressure. You’ll also see that the surface of the edges will start to get smoother as you continue through this process. Once you’re happy with the look and feel of your leather, you can proceed to the next step.
If you haven’t trimmed the top and the lower edges of the sides, they may appear bent when you rub a hard material against the thin side. Simply push them back down, by laying your leather piece on a flat surface and evening out the edges.
4. Let Your Leather Dry
The entire burnishing process can leave your leather damp, even after you’ve run across the edges with a hard material. While the friction of this process heats up the leather and gives it a shine, it may still feel a little damp.
This is why you’ll need to let your leather dry after burnishing it, even without tools. Simply let it dry inside a room and try to avoid direct sunlight. Drying leather in sunlight can affect the appearance of the colors, so it’s best to avoid it.
Instead, let it dry using natural air. This will help to extract most of the moisture of your leather giving it a shiny and hardened appearance once it has dried.
As you can see, burnishing leather without tools is not only possible, but also straightforward and simple.