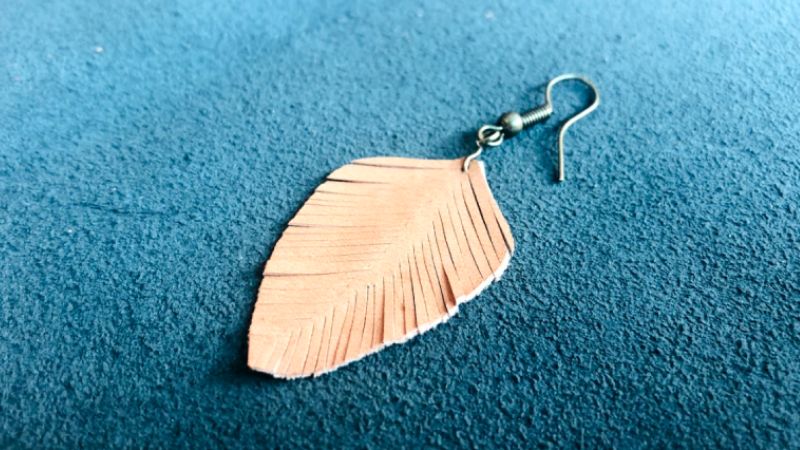
How to Make Leather Feather Earrings
When it comes to crafting feather earrings, leather is the ideal material. This is because you’ll be able to use the texture and shape of the leather to create natural-looking feather earrings.
You also don’t need to be an experienced jewelry maker or leather crafter to make your own leather feather earrings. All you need is a few simple tools, a few scraps of leather and an idea of how you want them to look.
Here are the 8 simple steps on making leather feather earrings:
- Create a Feather Outline
- Cut Out a Leather Piece
- Thin Leather if Required (Optional)
- Cut Out the Feather
- Shape and Trim Edges
- Use a Knife to Cut Feather Vanes
- Punch a Hole Using an Awl
- Attach Metal Earring Hook
Follow these simple step-by-step instructions carefully. Do note that measurements in this guide are flexible and that you’re able to use dimensions according to your preference. Here are the tools and materials you’ll need:
Tools:
- Cutting Knife
- Skiving Knife
- Ruler
- Awl
- Pliers (optional)
Materials:
- Small piece of leather
- Earring hook
1. Create a Feather Outline
The first thing you’ll need to do is have an idea of how you want your feather to look like. Then, you should decide on a way to create the outline on your leather piece.
Here are several techniques that you can use:
- Use a template or stencil
- Freehand drawing
- Freehand cutting
You’ll get the most accurate shape using a template. You may use any type of feather size. We recommended keeping about a 2:1 ratio between the length and the height of the feather, and in our example we use a 2-inch length and a 1-inch height.
2. Cut Out a Leather Piece
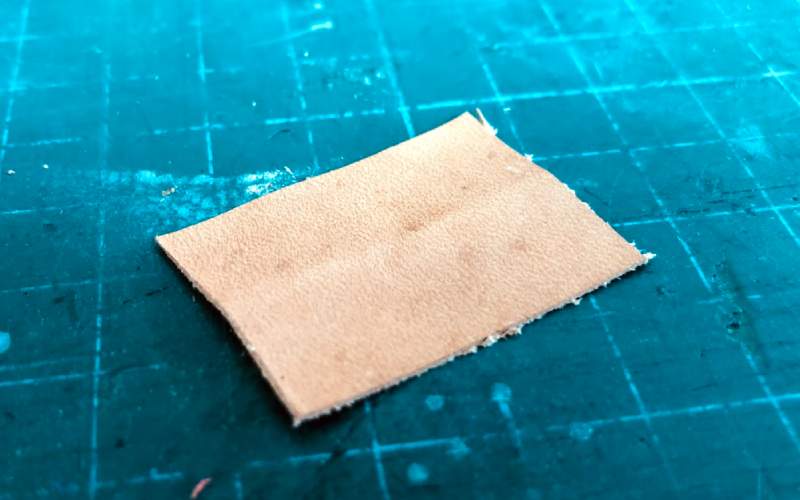
You should now cut out a piece of leather that is appropriately sized for your feather shape. As you may want to trim the edges later on, it’s best to leave about half an inch of space on each side. Use a cutter or a pair of leather shears to cut out a rectangular piece of leather.
3. Thin Leather if Required (Optional)
If you’re working with thicker leather and you want your feather vanes to be a little more natural, you may want to trim your leather piece before cutting out the feather shape.
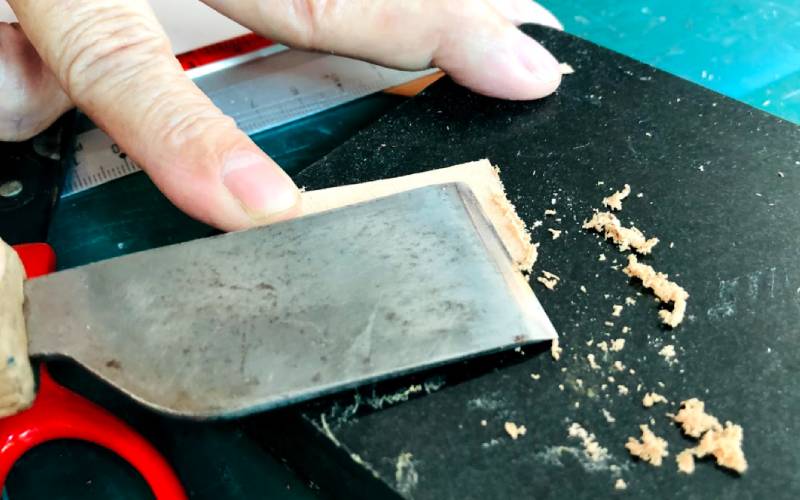
We recommended using a leather thickness of about 1/32 – 1/16 of an inch. This will give your leather feather earring and natural appearance. However, feel free to use a thicker piece of leather if that’s what you prefer.
If you need to thin your leather, simply use a skiving knife to thin the flesh underside. Once you’re happy with the thickness, you can proceed to the next step.
4. Cut Out the Feather
There are several ways to cut out the feather shape on your leather sheet. You can follow these guidelines.
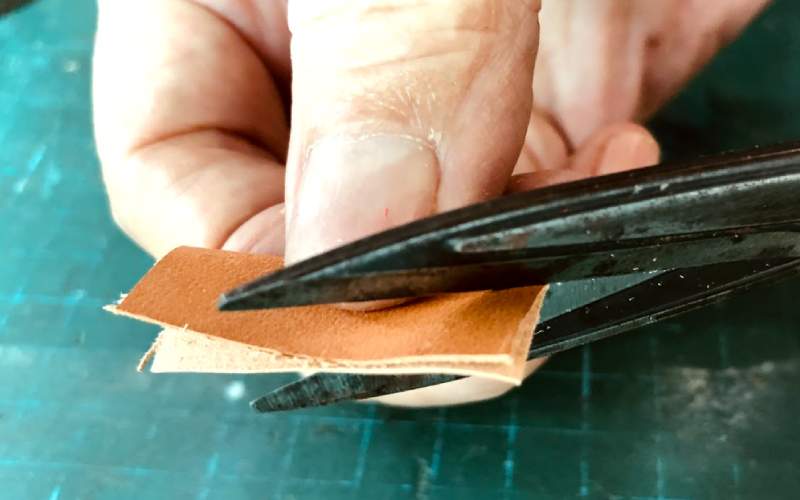
- If you’re using a template – place the template or stencil onto the leather piece and use a cutter to cut the outline of the feather. You can also use an awl to mark the outline and use leather shears to cut out your piece
- If you’re freehand drawing – simply pick up your piece of leather and cut the feather shape out using a cutter or leather shears
- If you’re freehand cutting – There’s a simple trick! Simply fold over the leather piece in half and cut the outline of the feather on the overlapping side. This will create a symmetrical shape and the bend line in the middle serves as the leather shaft.
There are many ways to cut out the shape for your leather feather earrings. We find using leather shears gives a more accurate outline.
5. Shape and Trim Edges
Next, trim the edges to get rid of any fibres or access leather. You may also want to give your feather a certain shape, symmetrical or asymmetrical. Decide on your final adjustments and cut them to the desired shape.
6. Use a Knife to Cut Feather Vanes
Now it’s time to create the feather vanes. Here’ use a cutter and carefully slice downwards. Make sure to leave a solid line in the middle, as this will form the shaft of the feather.
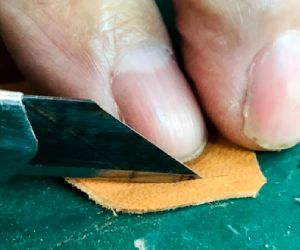
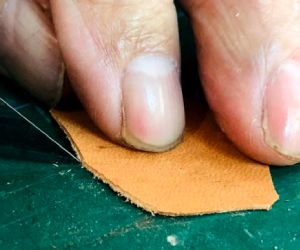
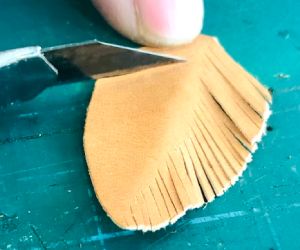
Also take note that you don’t want to shape the vanes too thinly, as there is a chance that you’ll accidentally slice them off. Use a thickness that you prefer and that suits the style and shape of your feather.
The shaft forms the mid section of the feather and does not require any cutting. The shaft ends, where you start your cut downwards to the edge of the feather. If your feather is 2-inches long and 1-inch tall, we recommend a thickness of about 1/8 to 1/6 of an inch.
7. Punch a Hole Using an Awl
Now, you should create a hole for your earring hook. Make sure to leave enough space (equal space around the hole is typically the best. Also ensure that the amount of space around the hole fits the hook size.
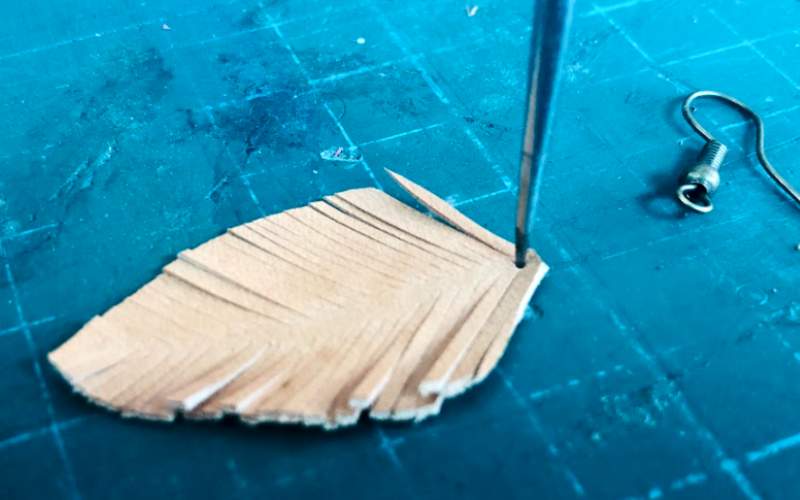
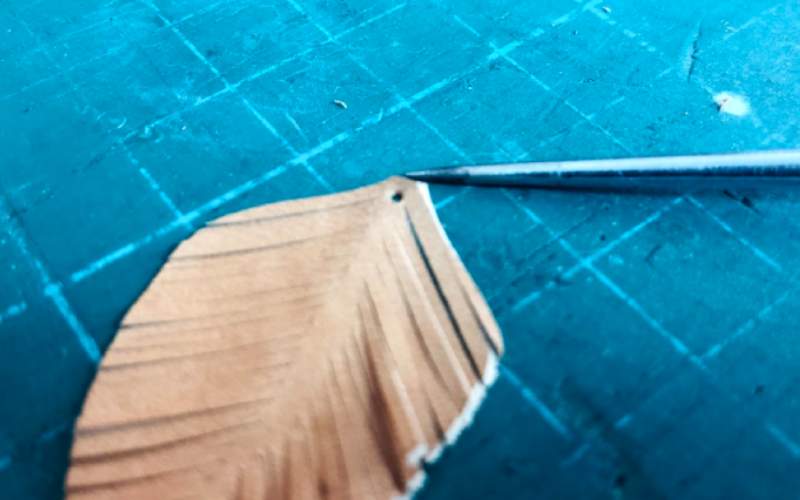
To pierce a whole through the top part of your leather feather, make sure to place scrap leather or something with a similar texture underneath it (a cork block also works).
This is to ensure that you can fully penetrate the leather with the awl to create a large enough opening for the hook.
8. Attach Metal Earring Hook
The last step of creating a leather feather revolved around attaching the earring hook. To achieve this, use a pair of pliers to temporarily adjust the bottom hook of the earring (not the hook that goes into your ear).
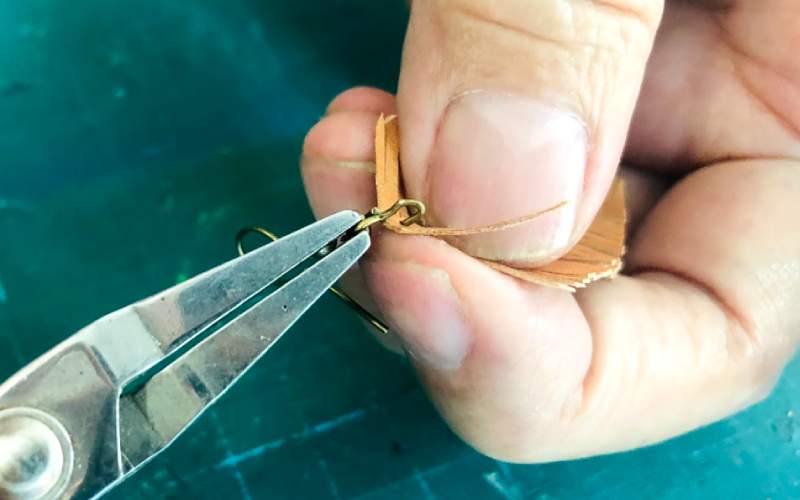
Form enough space and use your fingers to guide the hook through the hole of the feather. Once it’s firmly inside, use pliers and reconnect to the hook to form a perfect circle.
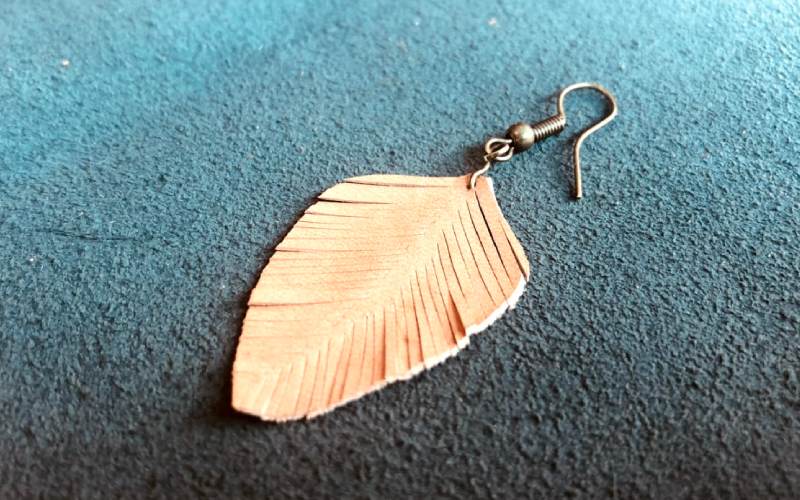
If you want your leather feather earrings to dangle, you may need to create another metal hook (you can use an additional earring hook for this) to create a small ring in between the feather and the hook. This will give your leather feather earrings the ability to dangle.

About Gerrit
Co-Founder, Researcher & Writer At Leatherskill
I’m a leather enthusiast who spends most of his free time crafting, researching, and writing about the many facets of this versatile material. Thanks for reading!

