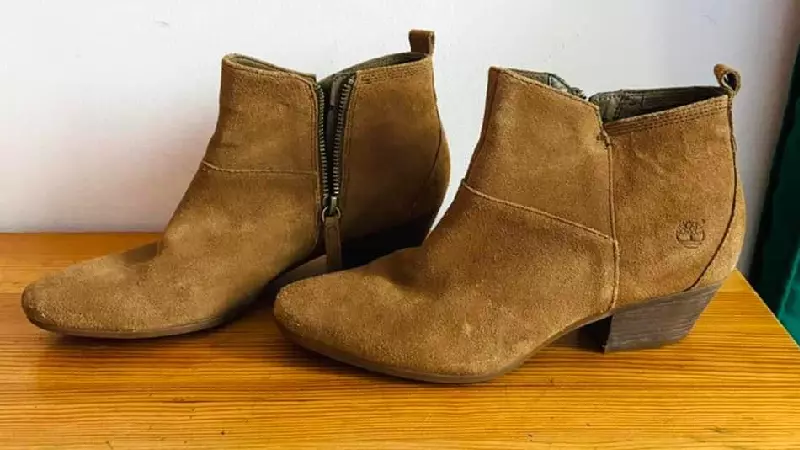
How to Care for Suede Shoes: A Simple Guide
We have heard instances of people deciding not to buy suede shoes because they think that they are notoriously difficult to care for. We want to help address some of these concerns by creating a simple guide that can give you confidence to not exclude suede shoes from your wardrobe.
We can break down the steps to care for your shoes into 5 simple steps.
- Spray Waterproof Solution onto Shoes
- Brush your Shoes with and against Nape
- Deep Clean your Shoes
- Store Shoes in Ideal Environment
- Wear Shoes in Right Conditions
We have also included specific instructions if you are trying to treat grease or oil stains on your shoes.
Before we proceed, let us highlight some differences between Suede and Nubuck. These terms are (incorrectly) used interchangeably. A good starting point in understanding your care routine and frequency would be to differentiate the two materials.
Suede
Suede is primarily created from inner layer leather. Treatment processes are applied to create a fuzzy yet smooth texture. Due to the fact that Suede largely comes from the inner layers, it is largely more delicate and softer compared to Nubuck.
Nubuck
Nubuck is largely created from treating top grain (surface layer) leather. Top grain leather is most commonly sanded to create a texture that is very similar to Suede’s. Nubuck is much less delicate and considered a sturdier material as compared to Suede. It is also more prone to developing a patina over time and use.
Whilst Suede and Nubuck are distinct materials, the process for care for both Suede and Nubuck shoes are largely the same. The key difference is that you would want to clean Suede shoes more regularly as compared to Nubuck due to its inherent increased durability.
Let us now talk about what you will need to confidently care for your Suede or Nubuck shoes.
Tools
- Suede Waterproof spray
- Suede Brush
- Suede Cleaning Bar
- Suede Cleaning Solution
- Cleaning Cloths
1. Spray Waterproof Solution onto Shoes
Ideally, you would want to undertake this step when your shoes are still new and not yet exposed to dirt and grime. If your shoes have been used already and you would like to waterproof them, please make sure that you have given them as thoroughly and clean as possible first.
Waterproofing your shoes is particularly important as water is probably the most common reason as to why suede shoes get damaged. Not unlike other types of leather, prolonged exposure to water can cause damage to your suede shoes. Examples of damage include but are not limited to staining, pilling and discoloration.
Please do note, most waterproofing solutions will increase your shoes’ water resistance as opposed to being fully waterproof. This means you can still expect your shoes to absorb water and get wet if you were to wear them in heavy rain conditions.
To waterproof your shoes, I would recommend referring to any specific instructions your waterproof solution comes with. Otherwise, it is usually recommended to spray your shoes with the waterproofing solution from a distance of 11 – 12 inches.
Once you have applied your waterproofing solution, it is commonplace to leave your shoes in a cool, shaded dry spot to dry overnight. You can also consider inserting absorbent material, such as newspaper, into your shoe across the drying process.
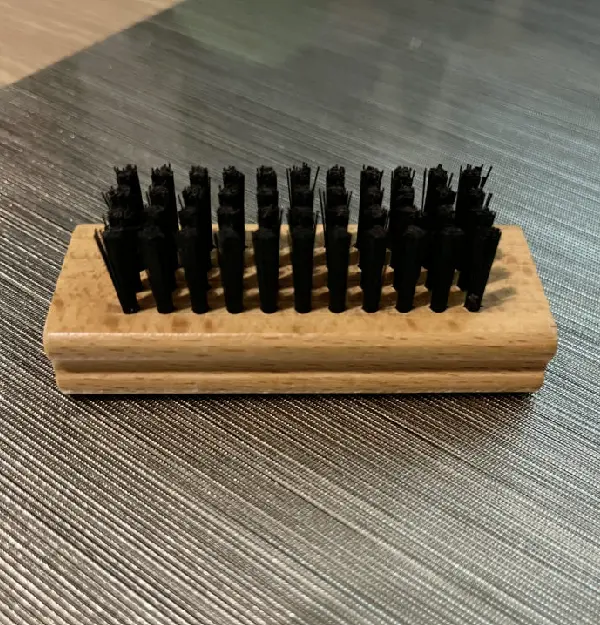
2. Brush your Shoes with and against Nape
We certainly recommend purchasing a dedicated suede brush for this purpose. If you are not able or willing to, you can consider using a clean toothbrush as a replacement tool.
Please do ensure that any toothbrush you might use should not have the stiffest of bristles. We want the brushing to remove dirt from the nap, not embed the impurities on a deeper level.
Please do ensure that any toothbrush you might use should not have the stiffest of bristles. We want the brushing to remove dirt from the nap, not embed the impurities on a deeper level.
Brushing suede is relatively simple, you will want to ensure that you are brushing both with and against the nap. Doing so gently will remove most of the dust and dirt that can easily accumulate within your suede shoes.
We recommend using light to moderate pressure when brushing, and focusing on the areas of your shoes that are the dirtiest. Typically speaking, these areas are towards the front (toe) area as well as the heel section of the shoes.
If brushing your shoes is all you are looking to do, please finish off the process by brushing your shoes following the grain of the nap to ensure a consistent texture across the entire surface area.
3. Deep Clean your Shoes
After brushing your shoes, you should have removed most of the surface level dirt trapped by your shoes. You can achieve a deeper clean by using a dedicated suede cleaning product. These are typically in the form of a cleaning bar / eraser or a cleaning solution. Steps for both of these products can be found below.
Suede Cleaning Bar
Before using the product, we recommend testing your cleaning bar on a small and inconspicuous area of your shoes to begin with. We want to ensure that you are able to rub away any sedimentation your cleaning bar leaves without any damage / stains forming on your shoes.
Once you are confident, you can then use the cleaning bar on the stained portions of your suede shoes. It is not necessary to use cleaning bars on non stained or already clean portions of your shoes.
Using gentle to moderate strength, rub the cleaning bar over the affected areas in a back and forth manner. You can then brush your shoes using your suede brush again to remove any remnant sediments of the cleaning bar.
Suede Cleaning Spray
Not dissimilar to the cleaning bar, it is certainly recommended to test your suede cleaning spray to ensure that you are not further shortening the lifespan of your suede shoes. Test your spray on a small, inconspicuous area of your shoes to ensure that no damage or staining is observed.
Once you are confident, we can look to apply the cleaning spray across the entire surface area of the shoes. Before doing so, we recommend brushing the nape up first so that the cleaning spray can clean your shoes on a deeper level.
Apply your cleaning spray to a clean dry cloth, and use the cloth to evenly apply the spray across the entire shoe. Once you have done so, you should use a second, clean and dry cloth to ensure that any excess moisture is removed.
Lastly, brush the nap down using your suede brush to ensure a consistent texture across the entirety of your shoes.
4. Store Shoes in Ideal Environment
Once your shoes are clean, we want to ensure that they stay as clean as possible before your next usage of them. As your shoes can spend as much, if not more time in storage than in use, it makes sense to ensure that your storage conditions are as conducive as possible.
We recommend using a fitting shoe tree on the inside of your shoes in storage. This will help ensure integrity to the shape and form of your shoes. We also do recommend that you store the shoes in a cool, dry place away from rain as well as sunlight.
5. Wear Shoes in Right Conditions
Lastly, we do recommend minimizing usage of your suede shoes when the conditions are less than ideal. As suede and nubuck tend to be more absorbent than most materials, it would also probably be more comfortable for you to avoid wearing suede shoes when you are expecting heavy rain.
If you do find yourself wearing your suede shoes in rain, it is recommended to use a paper towel to remove as much moisture from the shoes as possible. If you do have access to one, you can consider using a hairdryer to speed up the drying process of your wet shoes.
However, please only do so if your hairdryer has a cool air setting. If not, simply let your shoes dry naturally by storing them appropriately.
6. Treating Grease / Oil Stains
If you unfortunately find your suede shoes stained by grease or oil, the above steps won’t be sufficient to effectively treat the stains. The key if you spill any form of grease or oil on your shoes is to act as quickly as possible.
If you can, immediately use cornstarch or baby powder to absorb the wet stains that haven’t yet set in your shoes. Make sure you are applying the powder in a local area, we do not want the stain to possibly spread across the shoe.
We recommend leaving the powder on for 1 – 2 hours. You can then remove the powder from your shoes that has hopefully absorbed all the oil with a toothbrush.
If the oil stain has dried and set into the shoe, we recommend sending your shoes to a professional cleaning service as much as possible. However, you can attempt using a dishwasher cleaning solution which after all, specializes in grease removal.
However, the drawback to this recommendation is that you will need to use water to wash off the soap at the end and as we know, water and suede aren’t the best combination.