How to Make Leather Tear Drop Earrings
Are you looking to create a leather earring that is simple in its aesthetic? If so, the leather tear drop earring is a good contender for you. While it is not worlds apart from the leather petal earring structurally, there are a few unique design fundamentals you need to take note of and crafting steps that commensurate.
In short, the steps below will set you on your way to creating a earring that perhaps, is one of the most commonly associated with leather earrings.
- Make Leather Tear Drop Stencil
- Use Awl to Outline Shape on Leather Base
- Use Scissors to Cut Tear Drop Shape
- Round Edges of Cut Shape
- Burnish Edges of Tear Drop
- Punch Hole in Tear Drop
- Attach Metal Ring and Hook
Quick note before we dive into the thick of things; I was using a thicker, top grain leather base which made steps 1 and 4 more important than if you were to use a thin leather base.
I have also seen this style of earring created with a thinner suede base to great effect. Again, this is purely your artistic choice! If so desired, feel free to also paint any patterns you might want on the face of your earring.
The tools I worked with are listed as below;
- Stencil
- Awl
- Scissors
- Edge Trimming Knife
- Hand Burnisher + Burnishing Cream
1. Make Leather Tear Drop Stencil
As previously mentioned, I am choosing to work with a stencil as cutting a thicker base leather directly poses its own challenges. In this instance, I am choosing to work with a cardboard stencil.
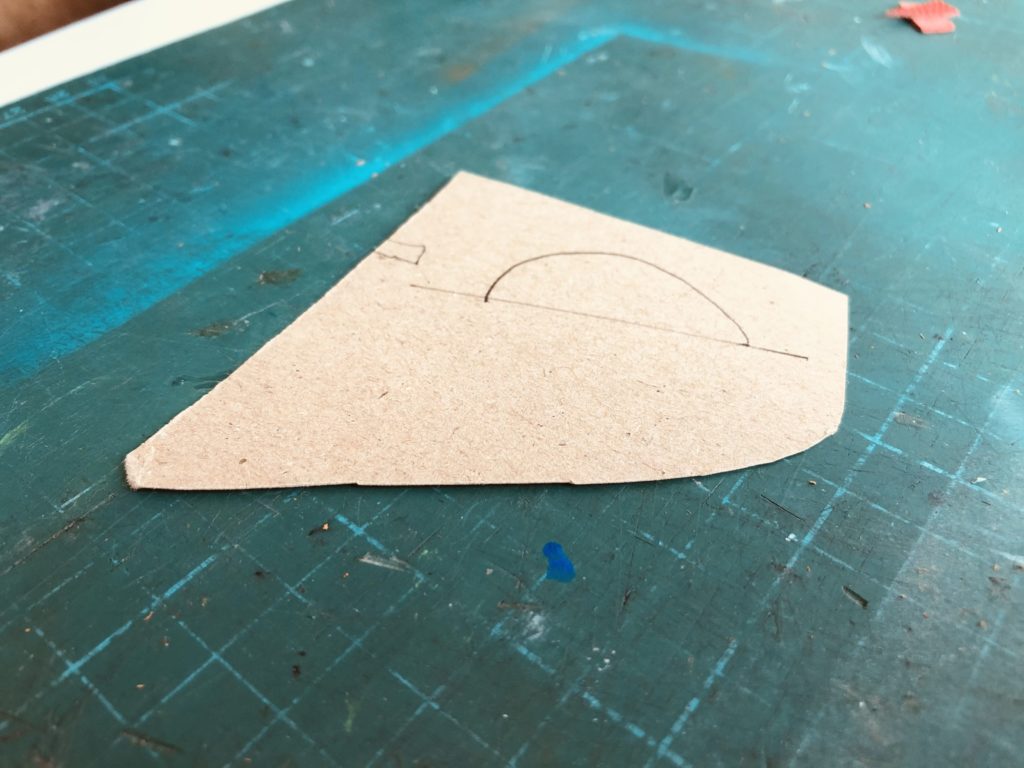
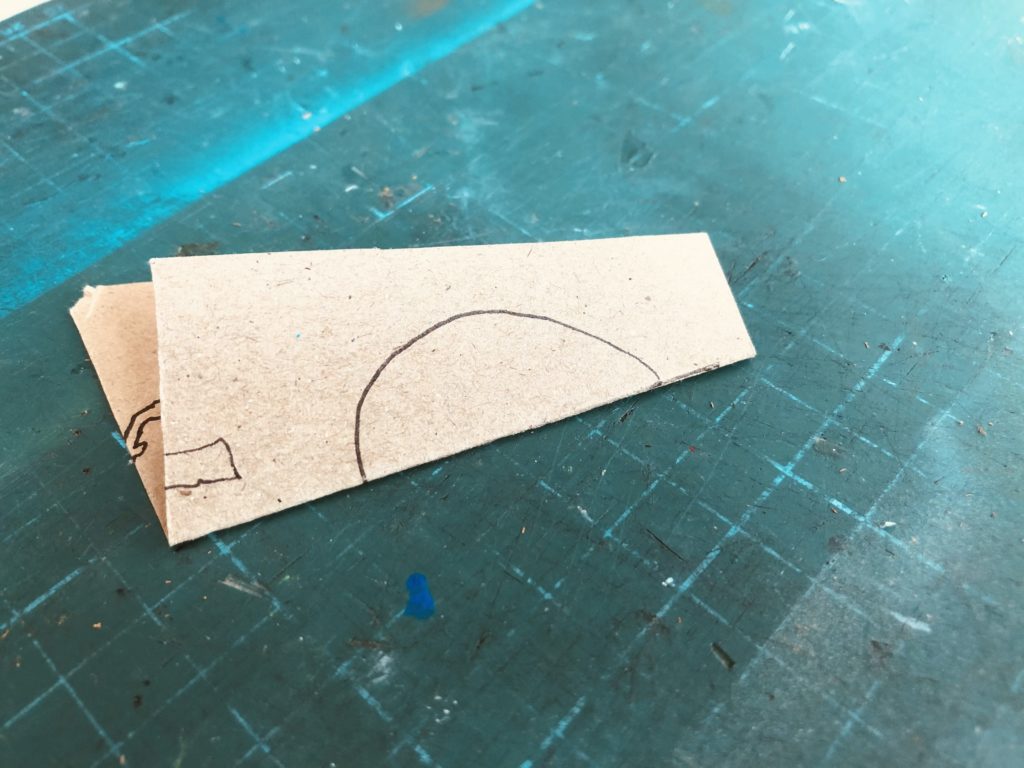
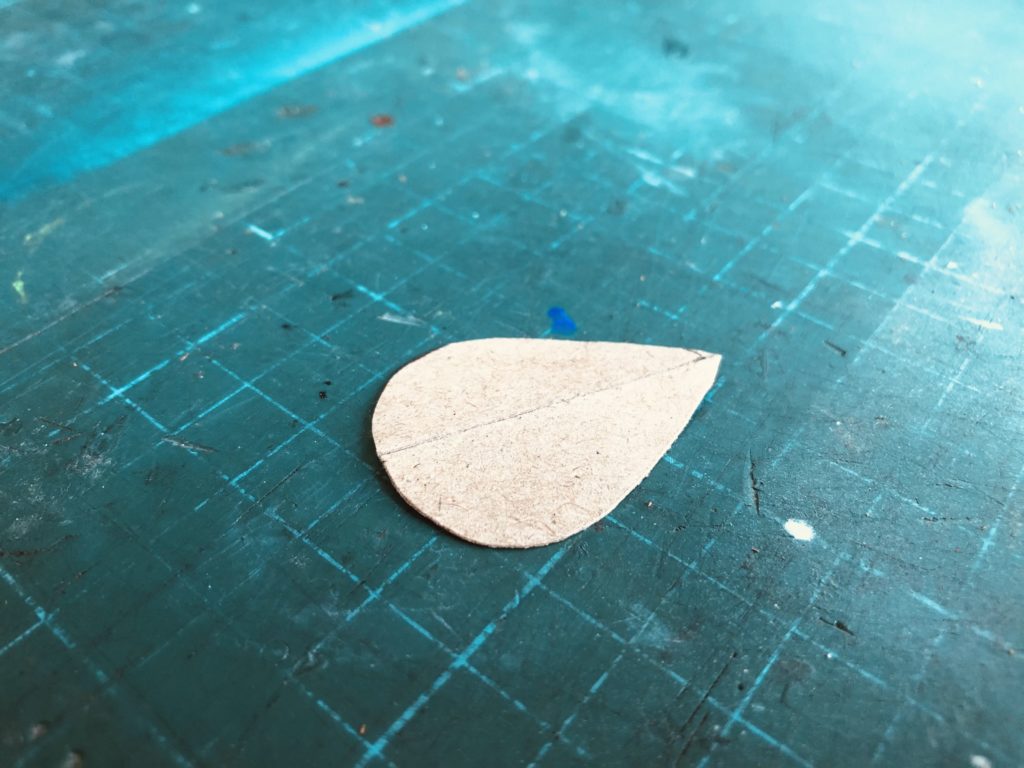
Draw half of a tear drop design (elongated arc) as well as a straight line through the middle to serve as a folding point. Cut out the stencil with your scissors.
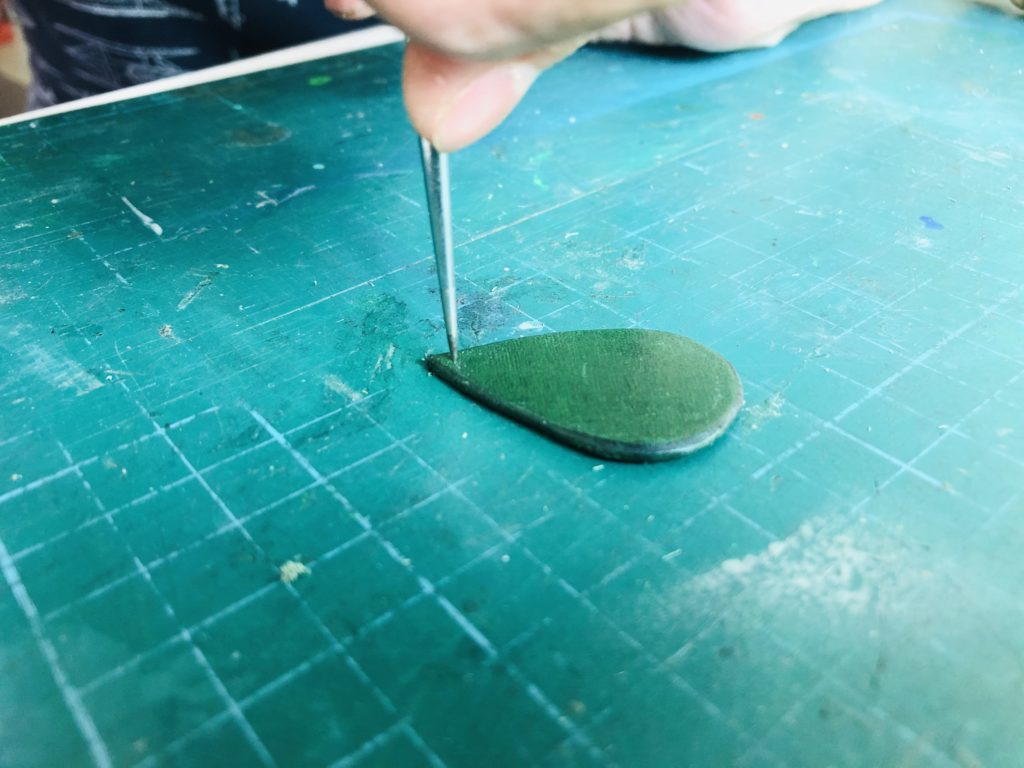
2. Use Awl to Outline Shape on Leather Base
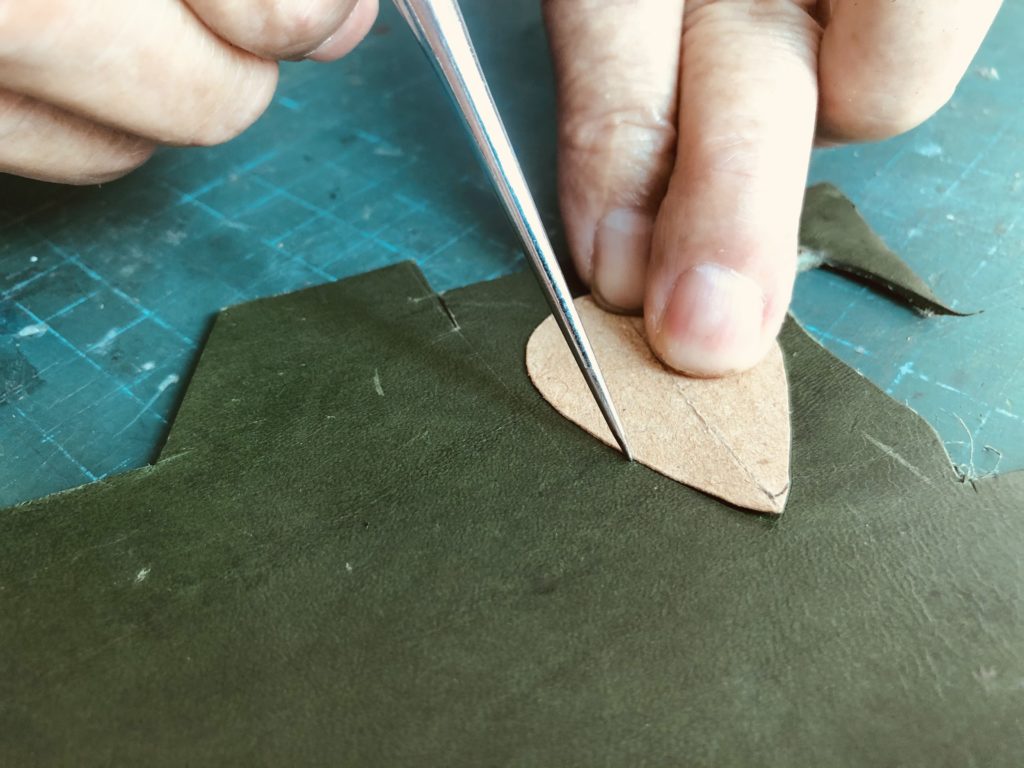
Place the stencil you have just created on top of your leather material base. Use an awl to then trace and outline the shape.
3. Cut out Shape on Leather Base
With my scissors, I am cutting as close to the outline perimeter as I can. As I am working with a thicker base, I am introducing an additional step (next step) to help with my final shape definition. I am even doing this cut in 2 separate steps to help maximise the precision on this front.
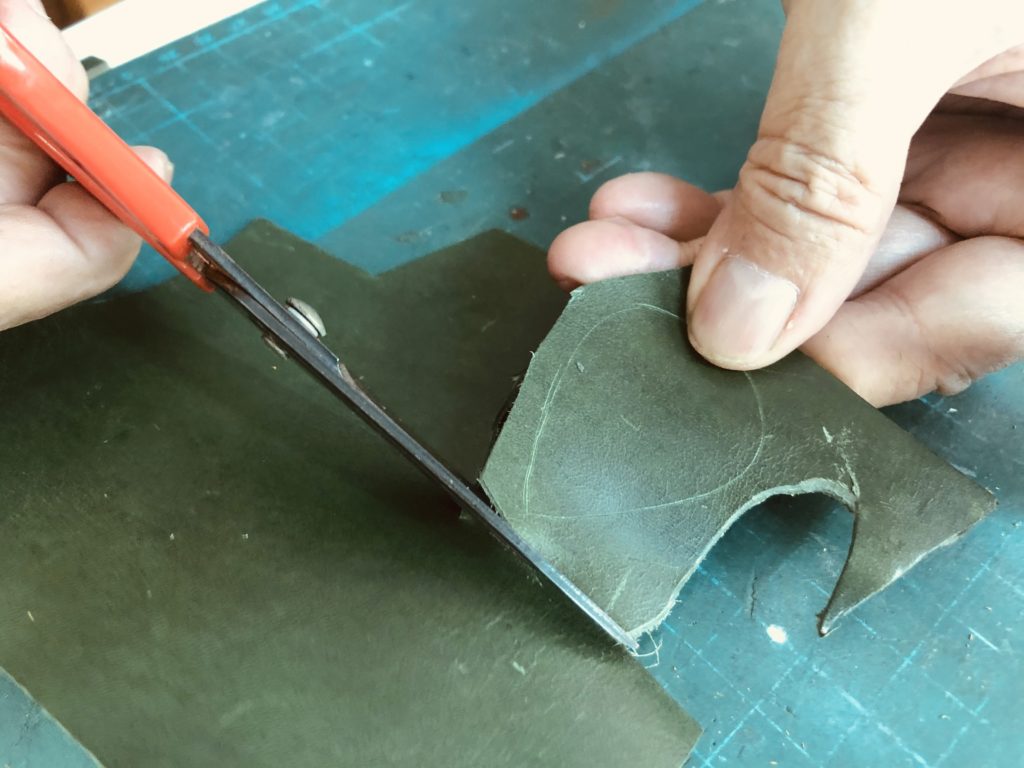
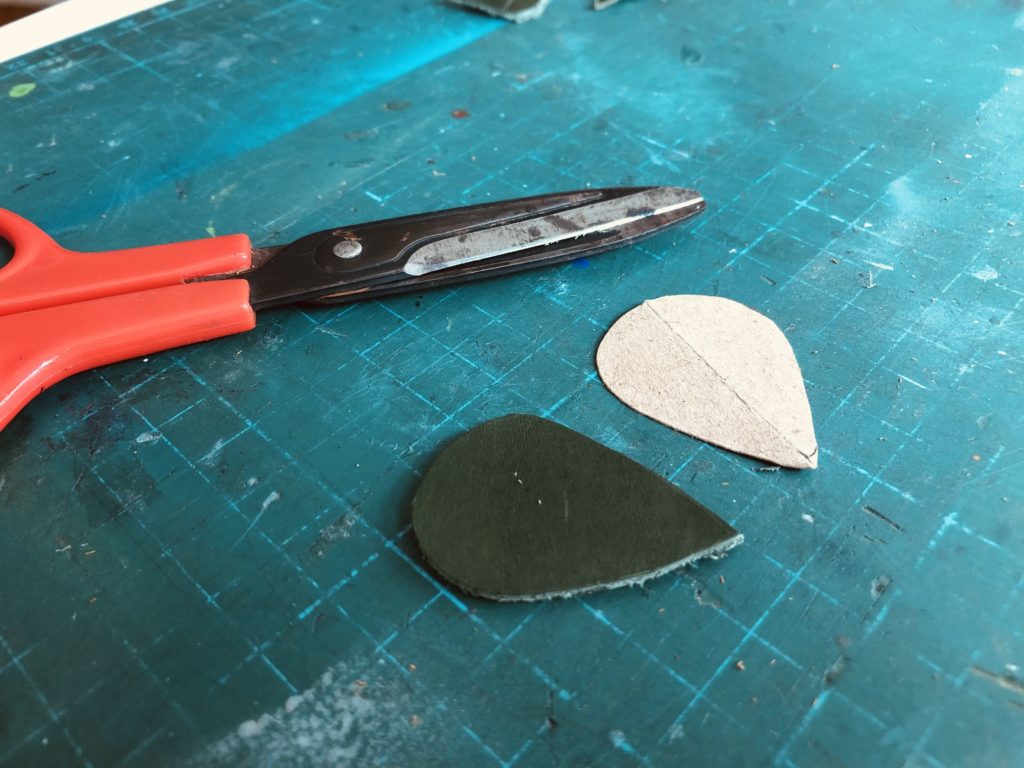
For now, I am simply looking to cut as close to the outline we have just created. Cutting just outside the mark is fine but please do avoid cutting into the inside of the outline.
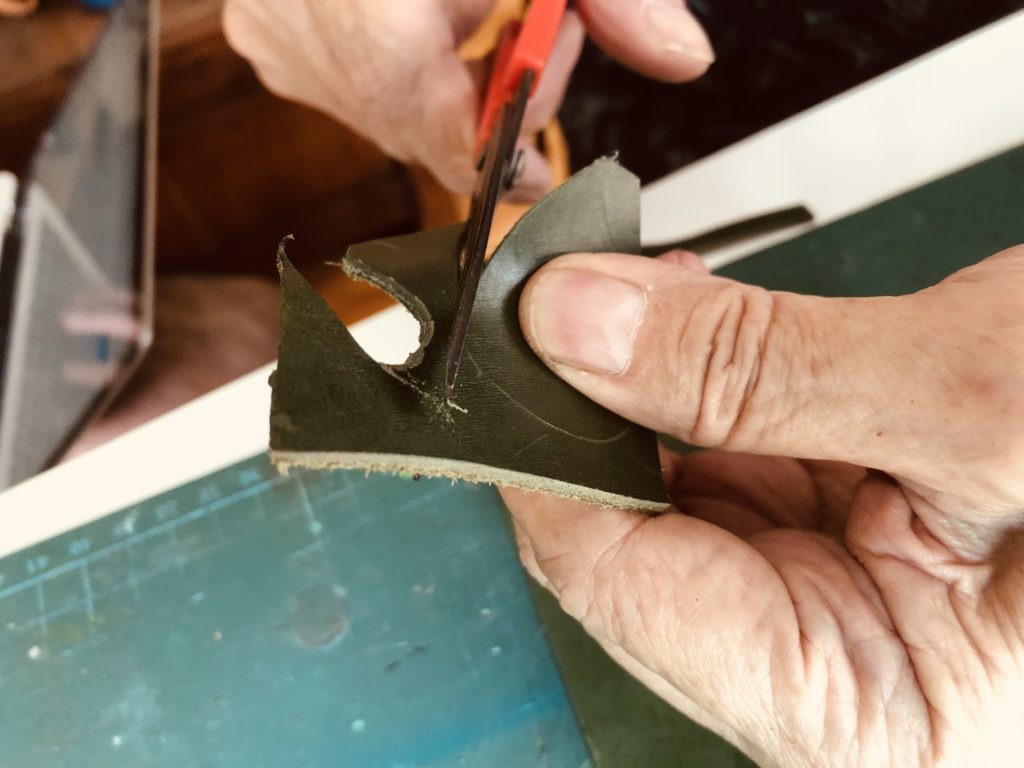
4. Round Edges of Cut Shape
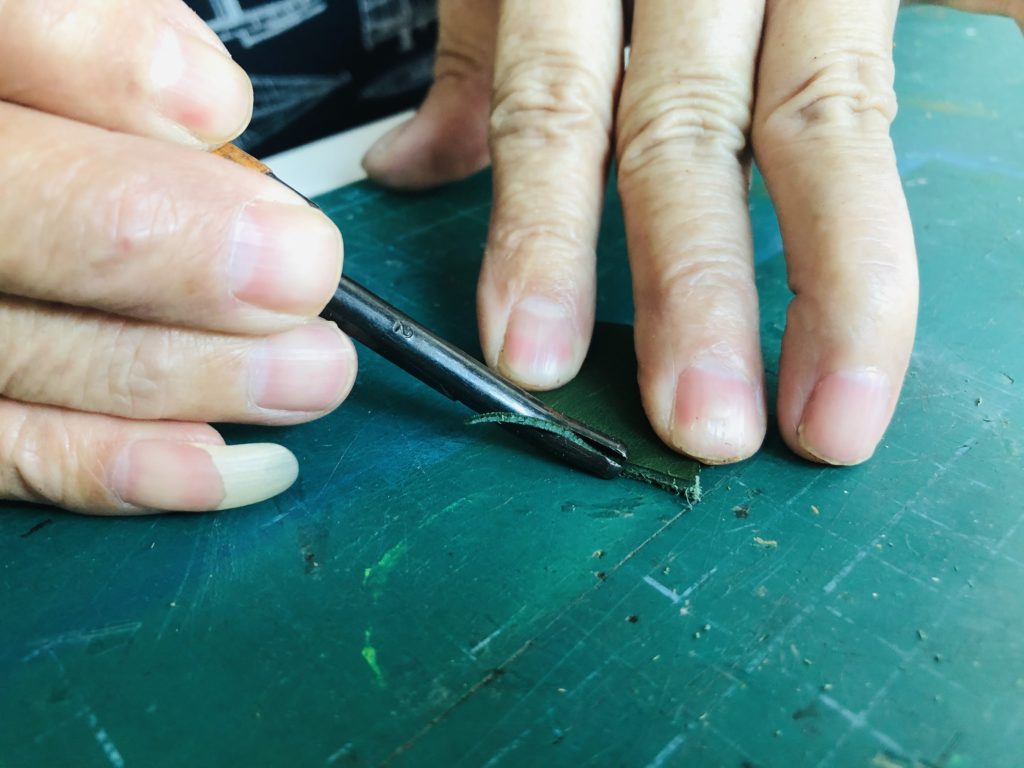
You can skip this step if you had managed to get a fully precise cut in the previous step. I used an edge trimming knife. The outline we had created with the awl serves as the guiding points for me to rough out any edges from my previous cut. I would recommend to use smaller, more precise strokes for this step to ensure the cleanest cut possible.
5. Burnish Edges of Tear Drop
As I am using a top grain leather material base, it is not unexpected for the cut edges to have fibrous remnants. Whilst you can leave this for a more gritty look and feel, I have decided to burnish the edges.
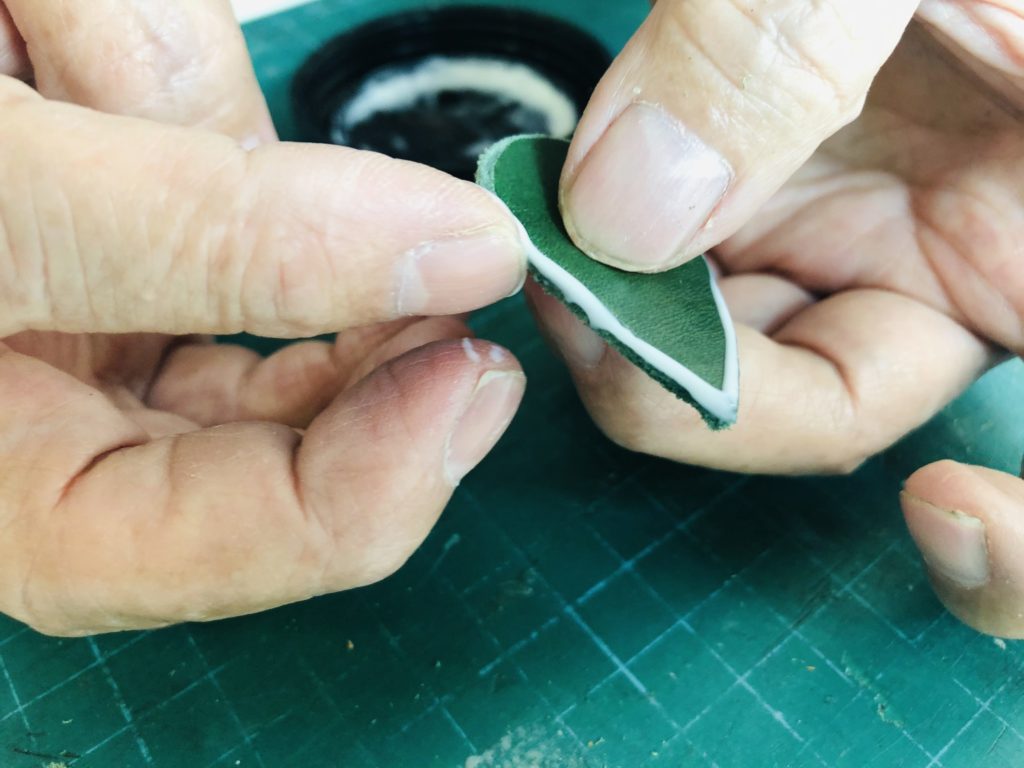
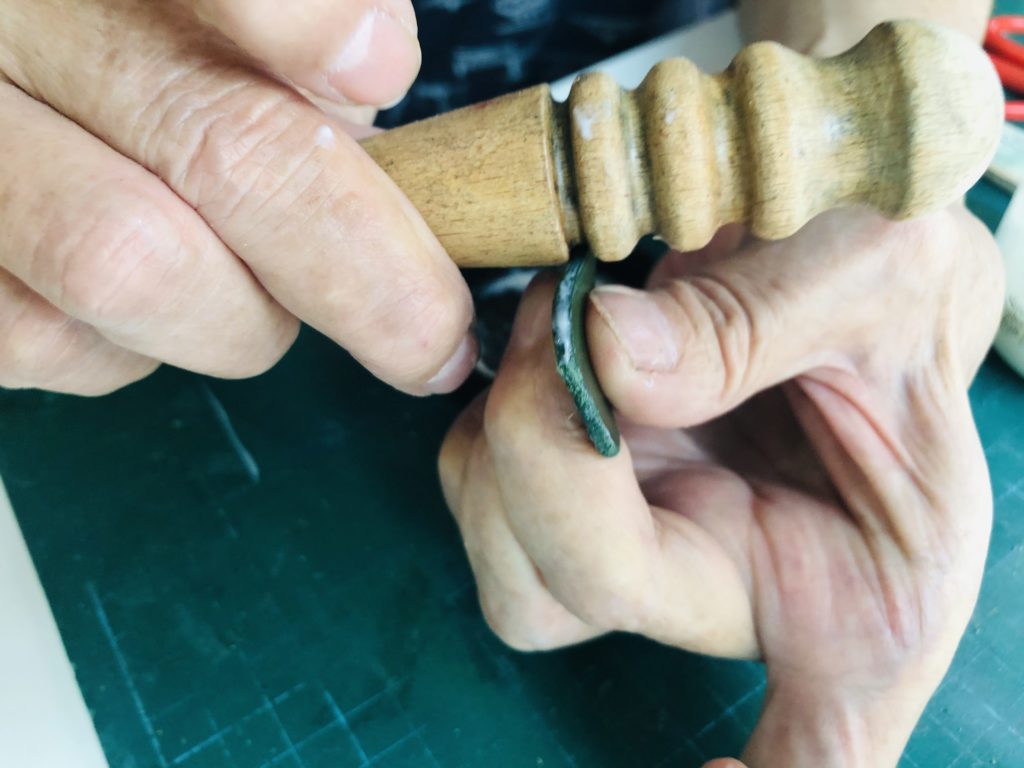
Please feel free to refer to our comprehensive guide on how to burnish your leather articles for more information on this.
6. Punch Hole in Tear Drop
With your awl, punch a hole through the pointy side of your tear drop. You would want to get the hole as close to the tip whilst also ensuring that at least 1 mm of material remains to ensure that it doesn’t rip through usage.
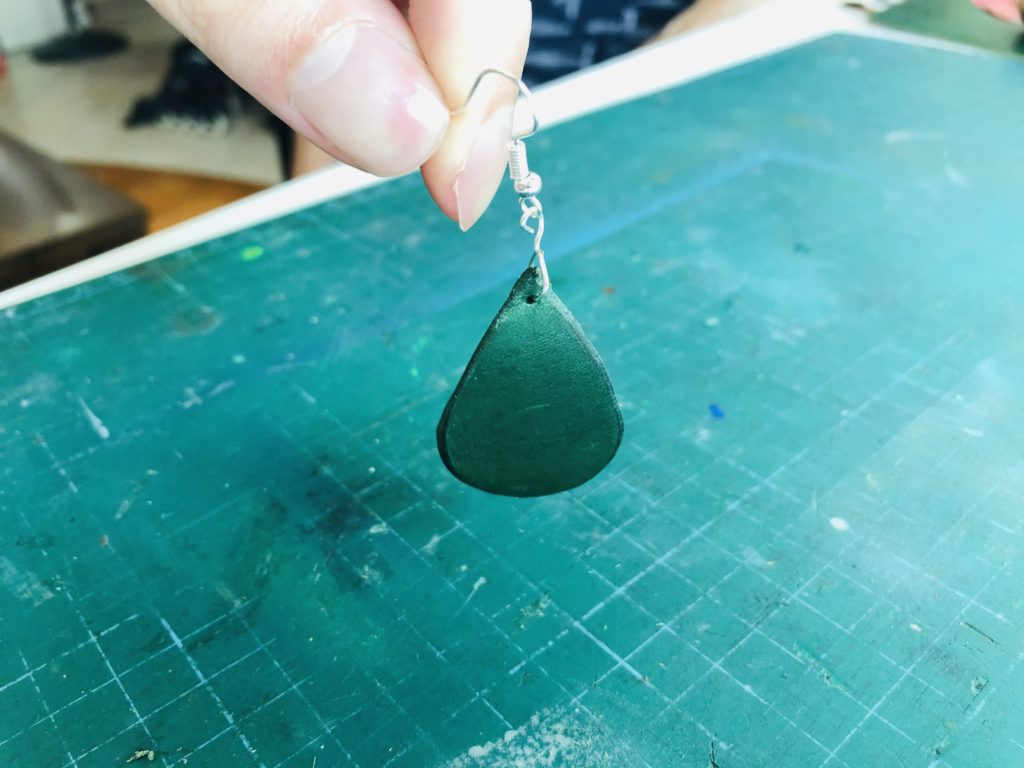
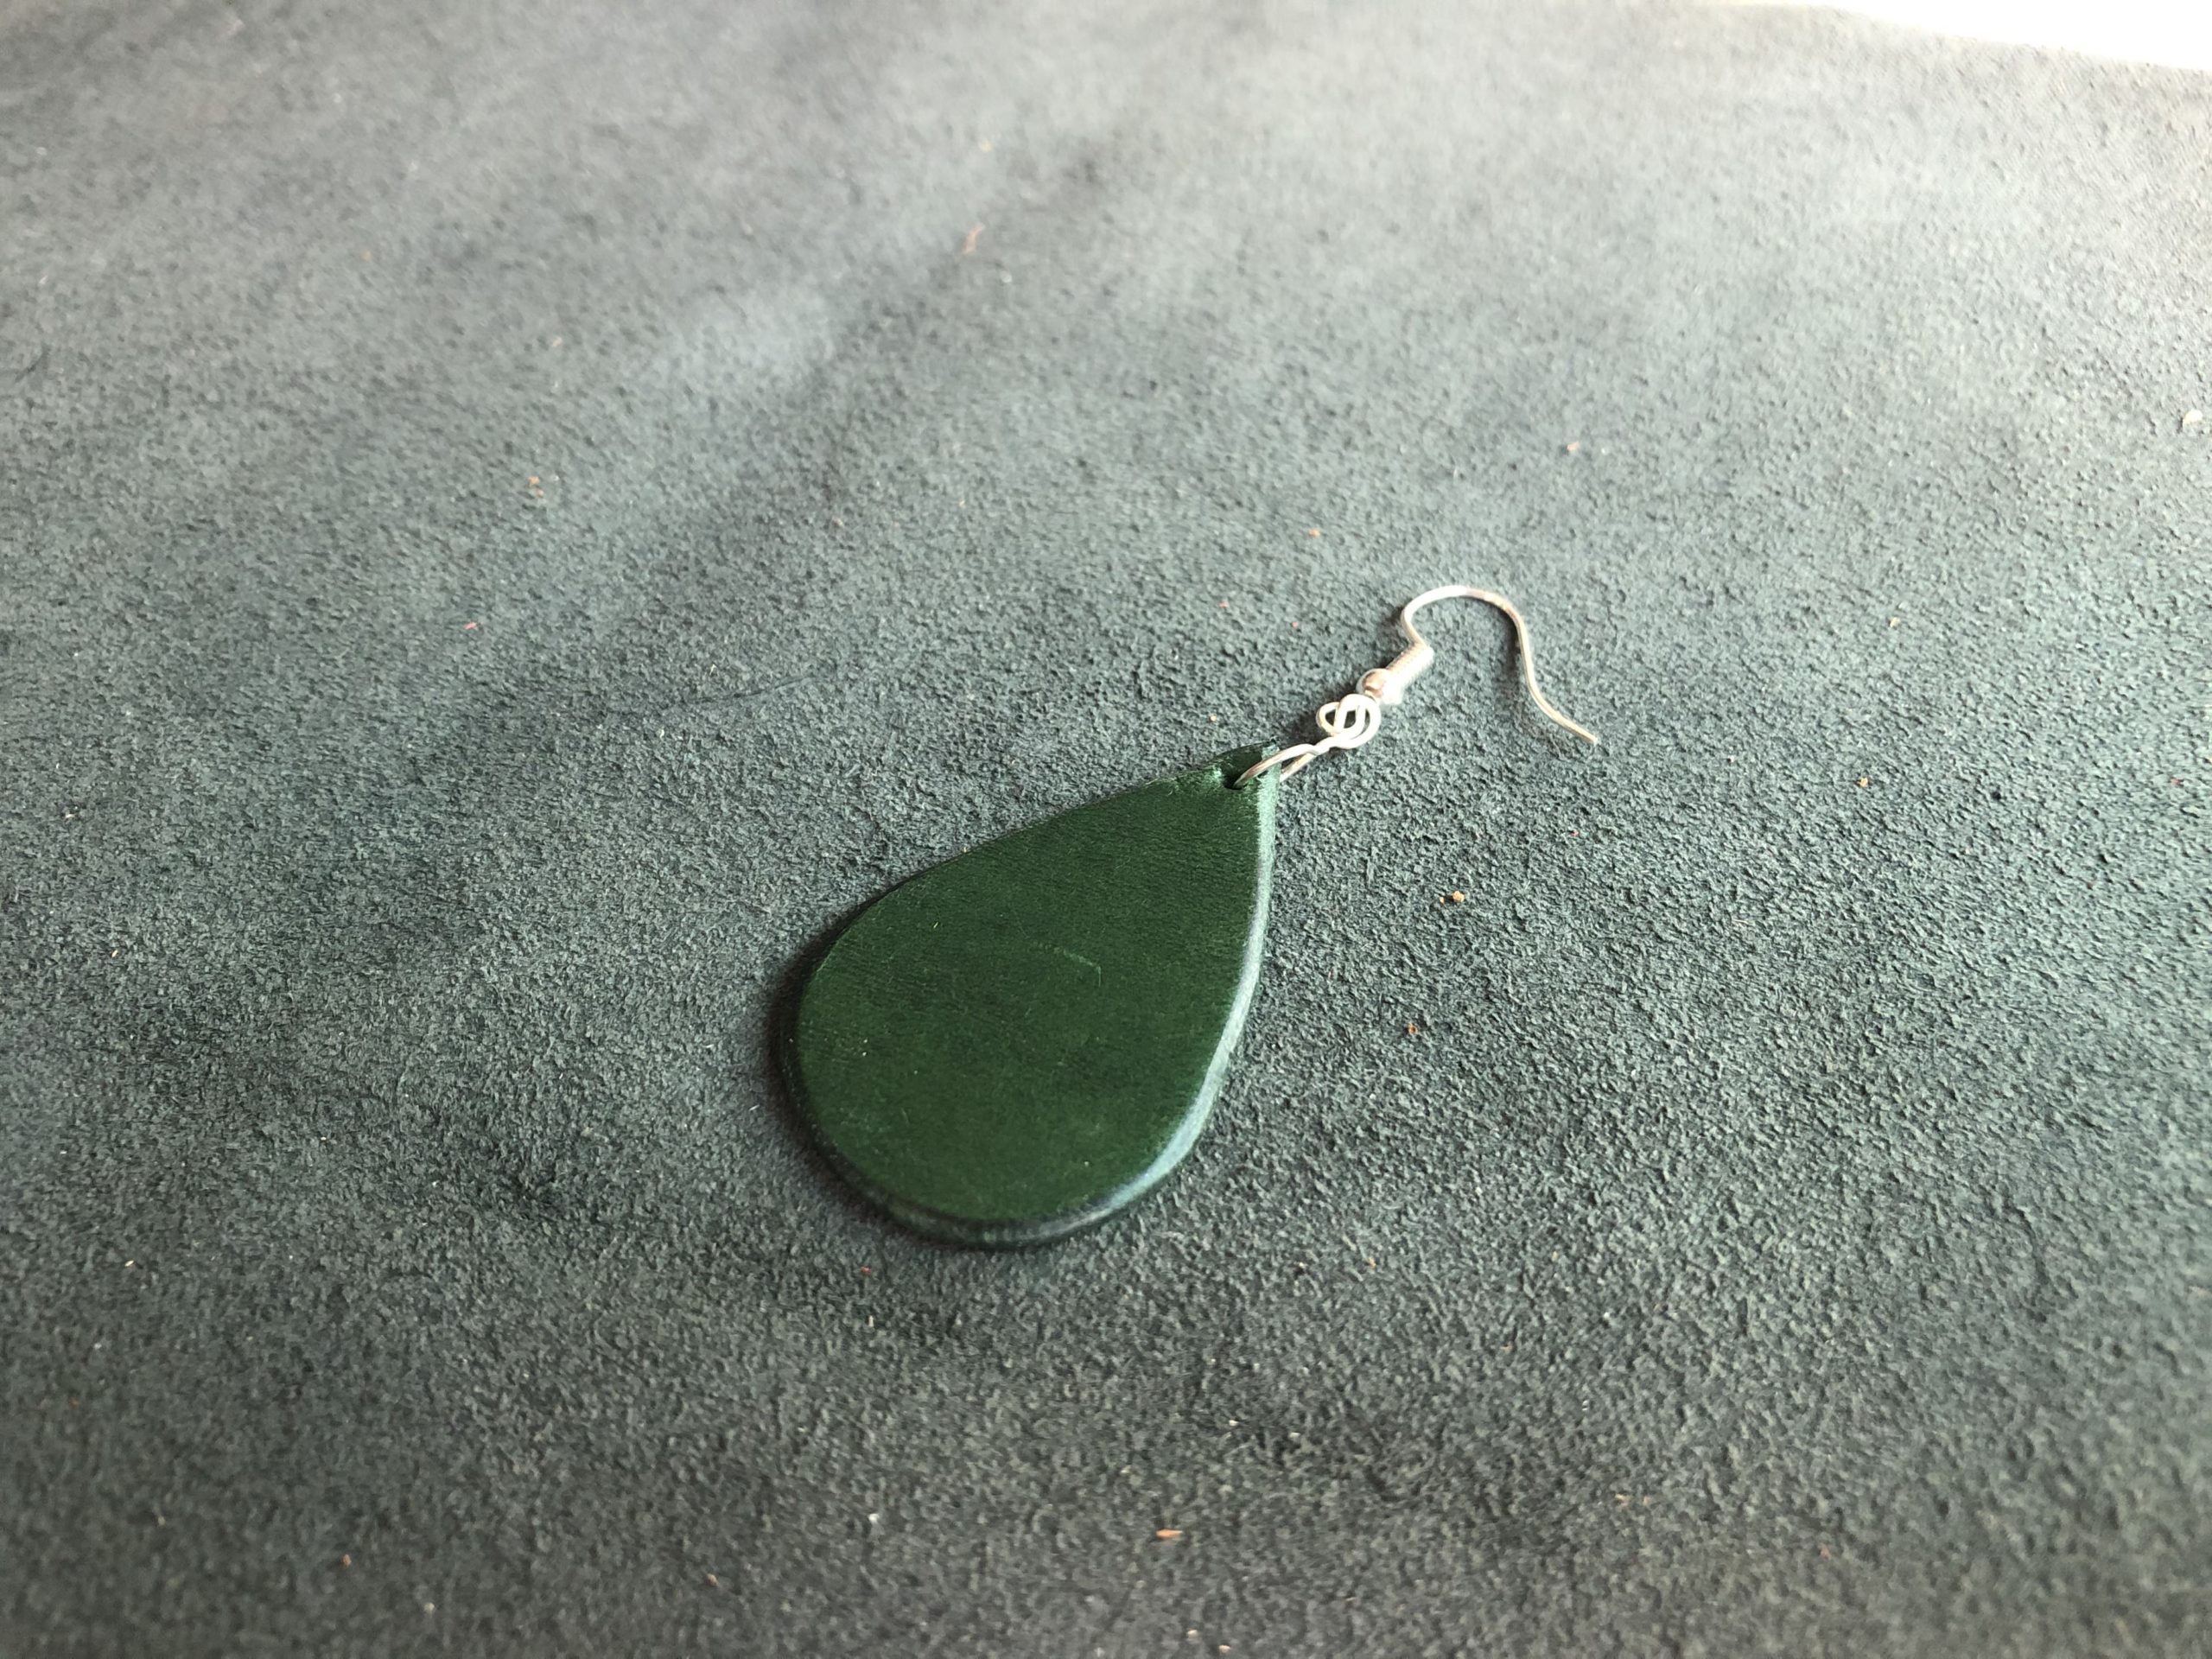
7. Attach Metal Ring and Hook through Hole
A relatively self explanatory step; the hole you had just formed with your awl is your entry point for your metal ring and hook. Once attached, your leather tear drop earring is now ready to be worn.