How to Make Leather Knot Earring
Leather knot earrings are simple and inexpensive to make, and yet can add a very unique outlook and character to an outfit one is planning. Best of all, you can utilise scrap leather that you have lying around.
The steps to creating your own can be found as below;
- Cut Single Strip of Leather
- Tie a Simple Knot
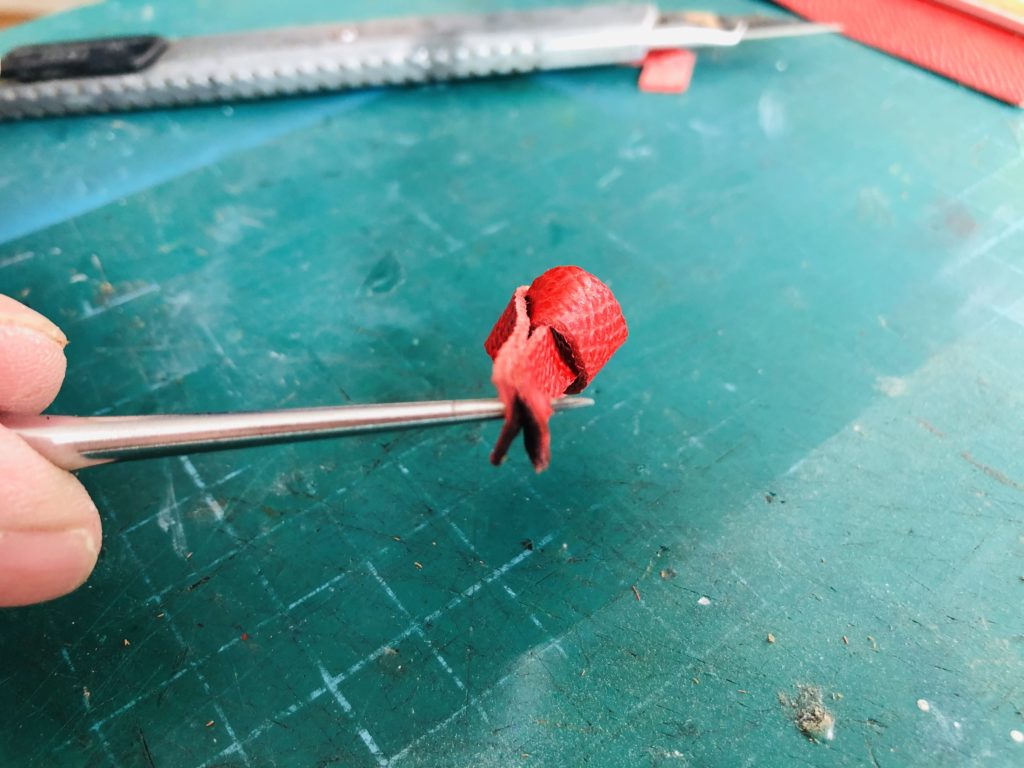
- Pull each side of Leather Knot Earring together
- Cut out Excess Leather from Each Side
- Glue Each Side Together (optional)
- Use Awl to form Hole
- Attach Metal Ring and Hook
As mentioned, this simple earring requires minimal tools, and all you really need is as listed below;
- Cutting Knife
- Ruler
- Awl
Without further ado, let us dive into each of the steps for your leather knot earring creation.
1. Cut Single Strip of Leather
For the leather knot earring style, I prefer to use leather that is on the thicker end of the spectrum. This will help create a stiffer look around the knot that you will tie in the next step.
I chose a leather base that is 1 mm thick and I recommend that you cut a strip with the following dimensions; 9 mm width x 15 cm length. If you are looking to have your earring have a louder visual with a bigger knot, feel free to cut out a longer strip of leather however I would try to avoid increasing the width too much more than 15 mm.
Also, the color of the leather base I chose for this is a nice deep red. Feel free to paint the strip of leather you have cut out to a color that is to your liking.
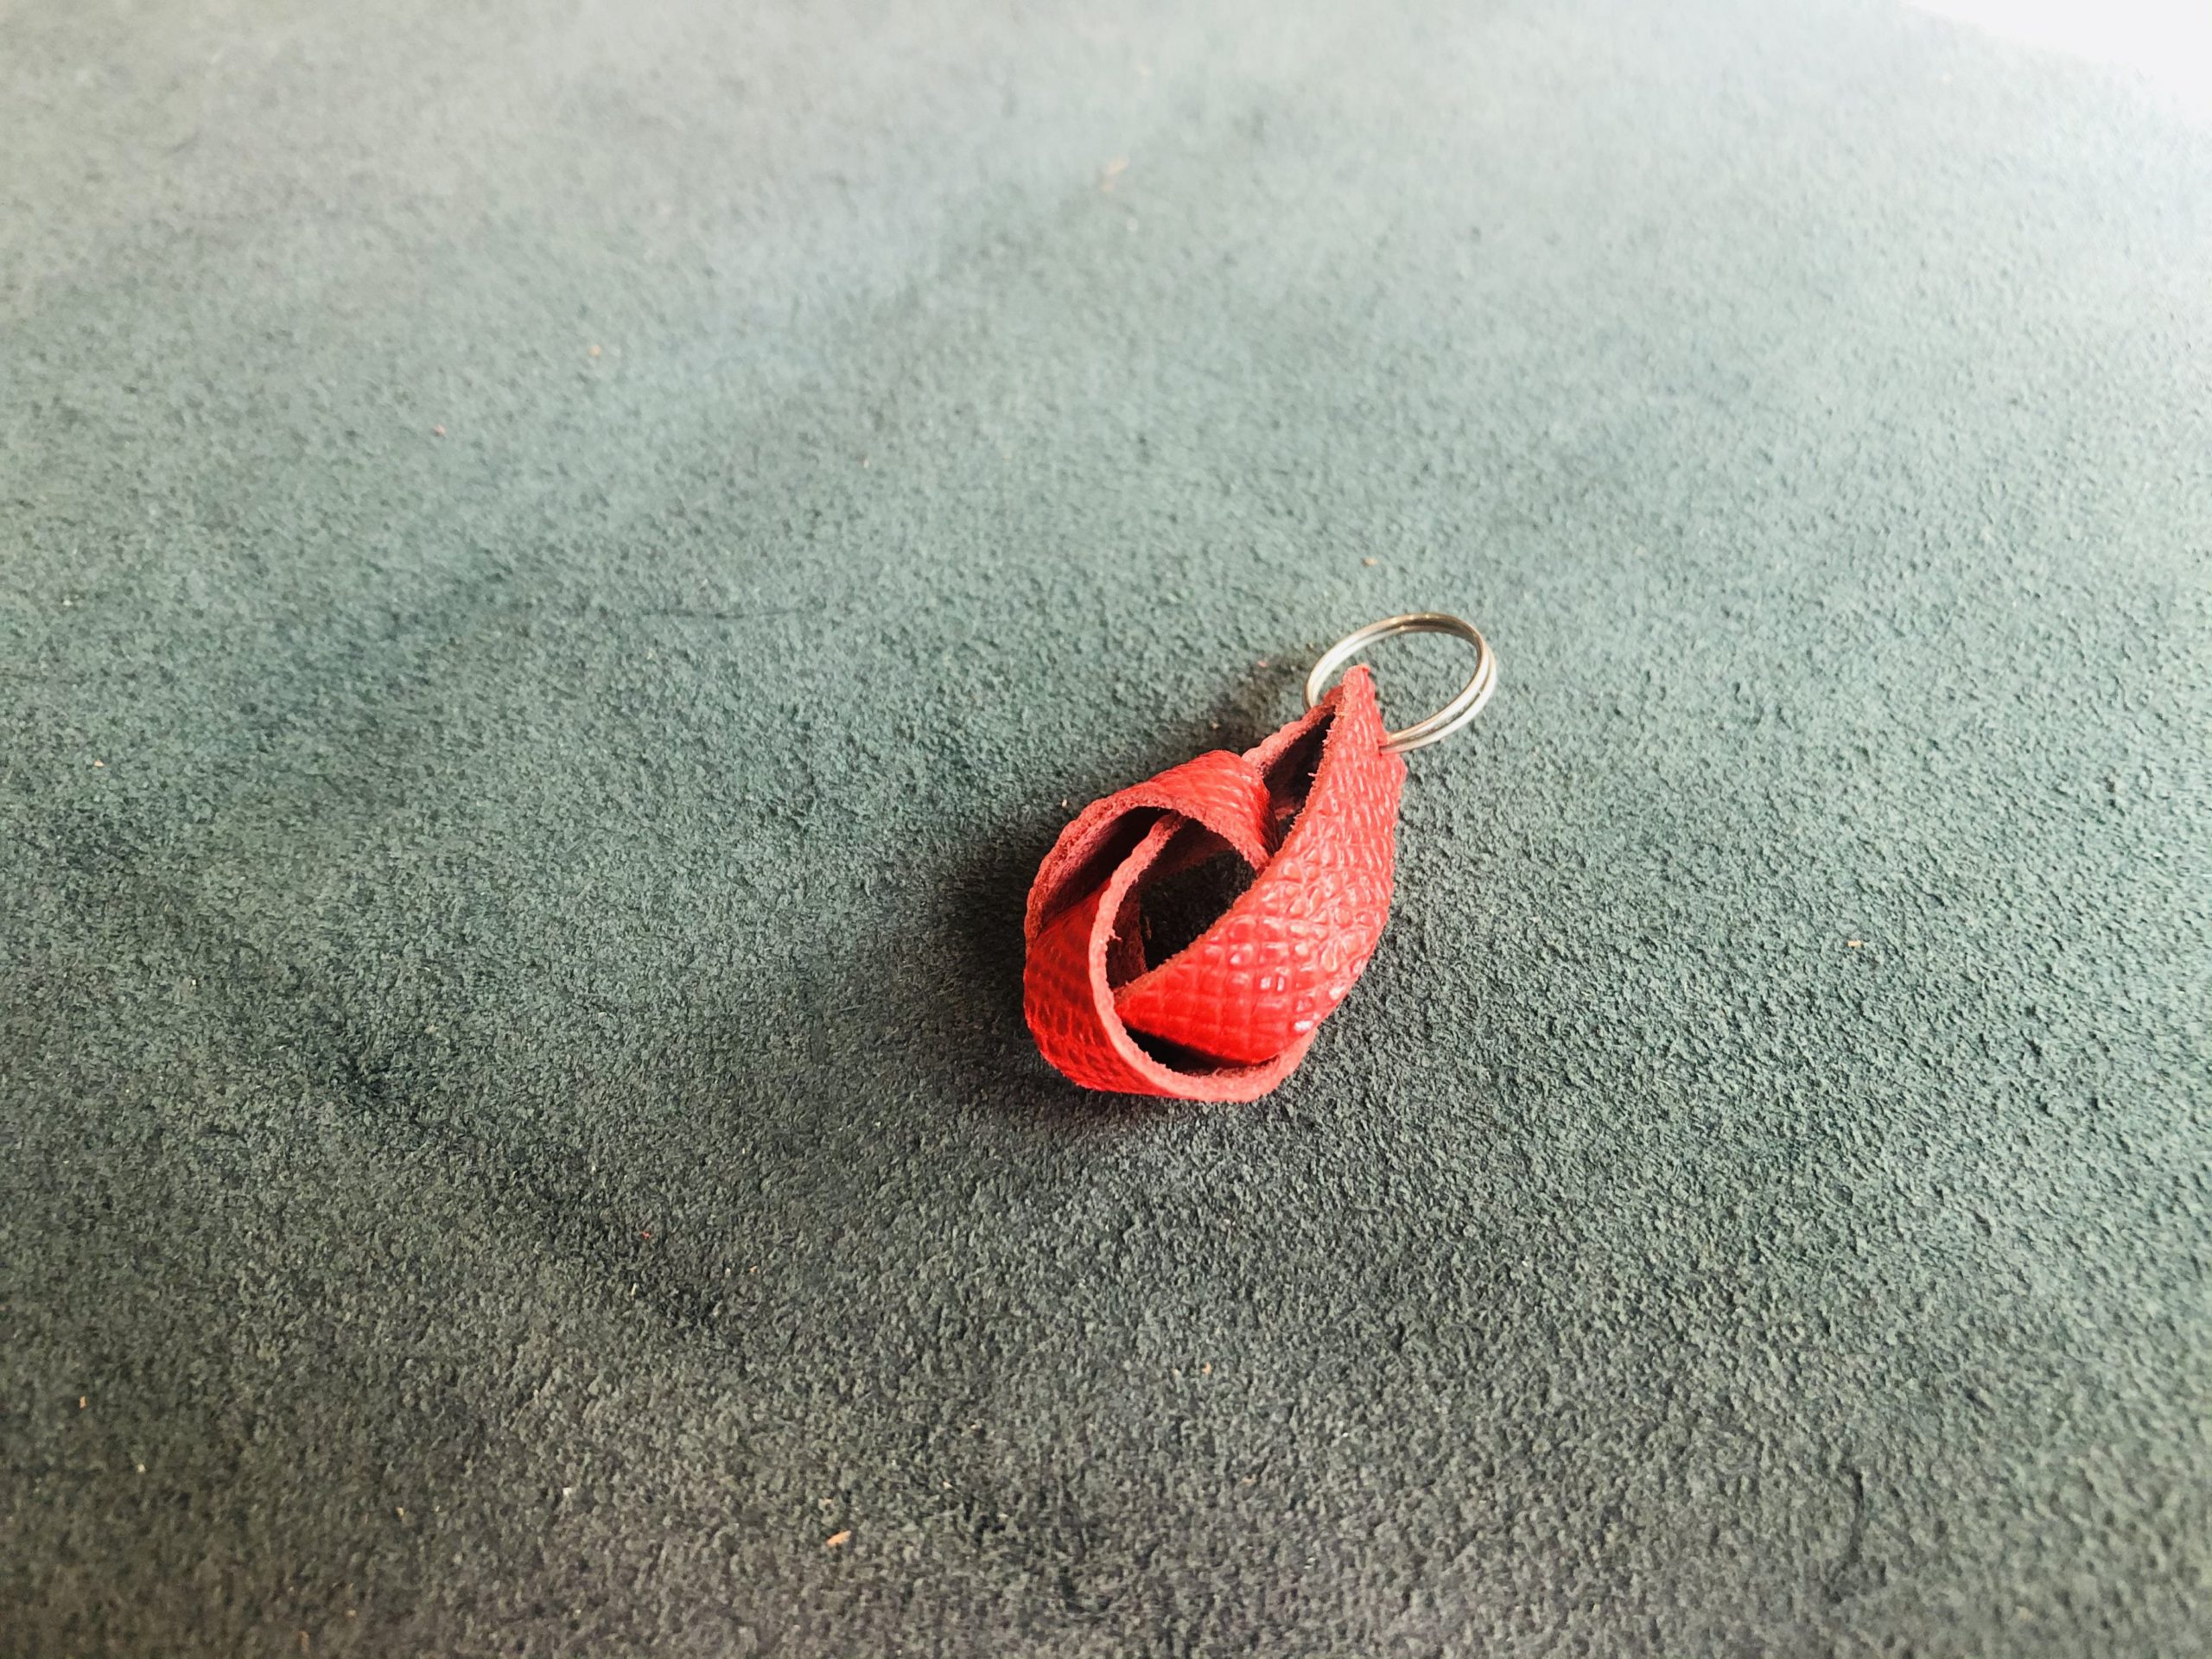
2. Tie a Simple Knot
You do not need to have graduated from the school of scouts to form a knot fit for the purpose of a earring. As you will be able to see, the knot I assembled is the simplest one you can make. The main thing you will need to take note of is to not pull both ends too tightly as you would want the knot to remain slack to maintain its visual appeal.

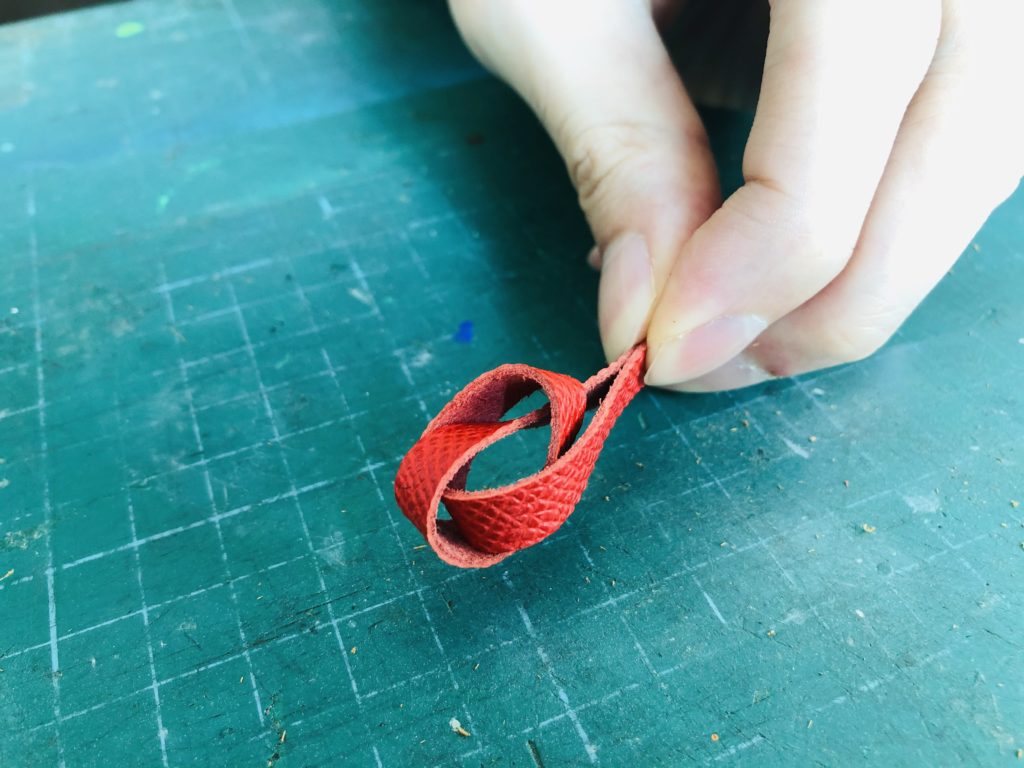
3. Pull each side of Leather Earring together
We are now forming a loop above the knot. The most important thing to note for this step is that we should be having the flesh side of the leather make contact with each other from both ends of the earring. As the grain side is typically more visually appealing, we would want to ensure that the surface area on this aspect is maximised.
This is not as important if you are working with leatherette / vegan leather as you are likely to have consistent finishing on both sides of your leather strip.
4. Cut out Excess Leather
We want the knot to be the main visual element of this style of earring, and we want the knot to be as close to the earlobe as possible. We are now reducing the length of your excess leather by using a knife to cut away at the ends.
In the previous step, you had assembled the loose ends together, and I would recommend to perform the cut in this form. This will allow for a uniformed cut on both ends to ensure that your earring doesn’t end up dangling in an unnatural way.
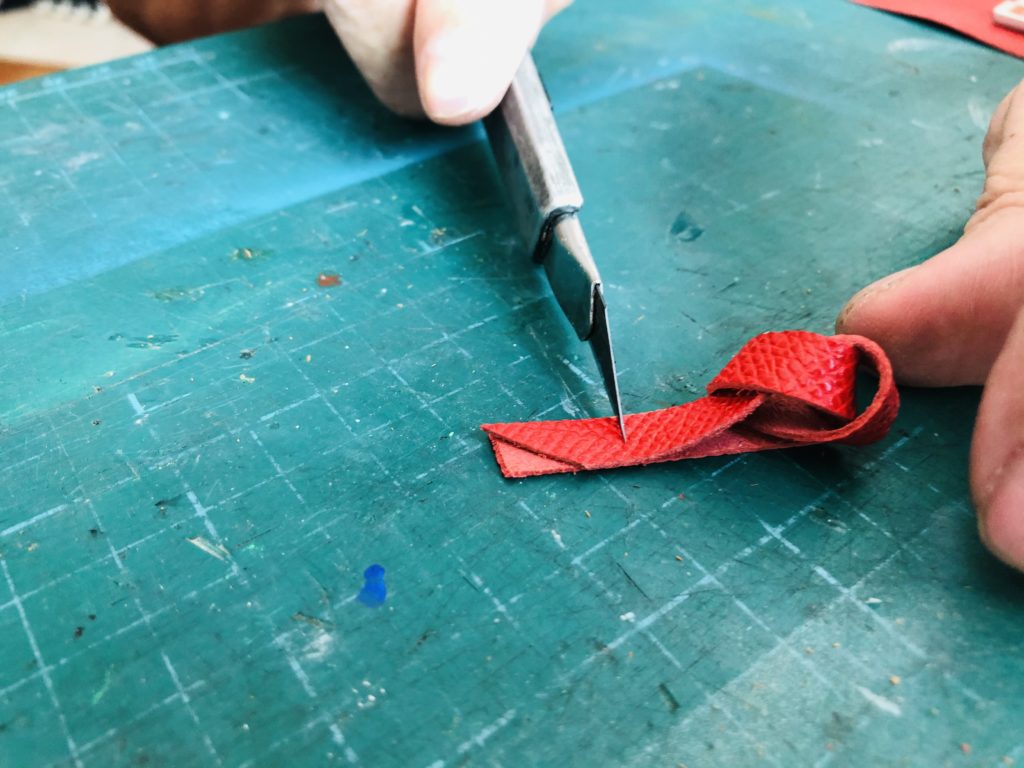
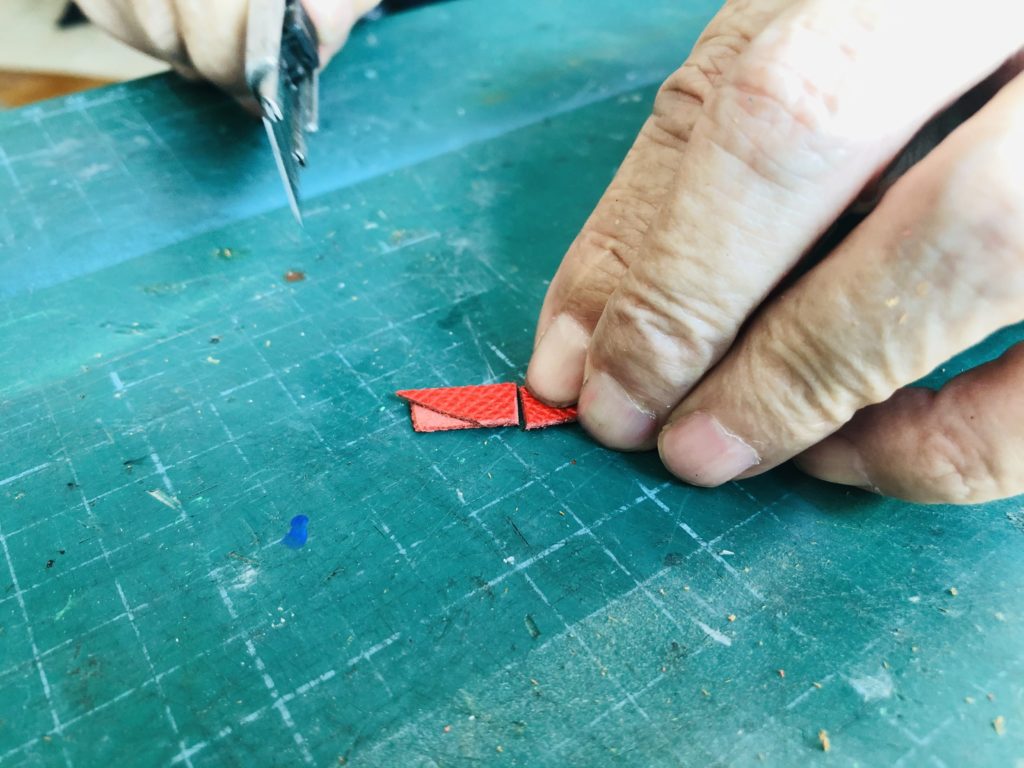
Measure out a single centimeter from the formation of the knot and cut away any excess of the ends beyond that point.
5. Glue Flesh side of Ends together (optional)
This step is optional, but will assist you in your next steps for your hole formation as well as metal ring and hook attachment. Apply a thin layer of adhesive on the flesh side of the remaining ends and gently press them together.
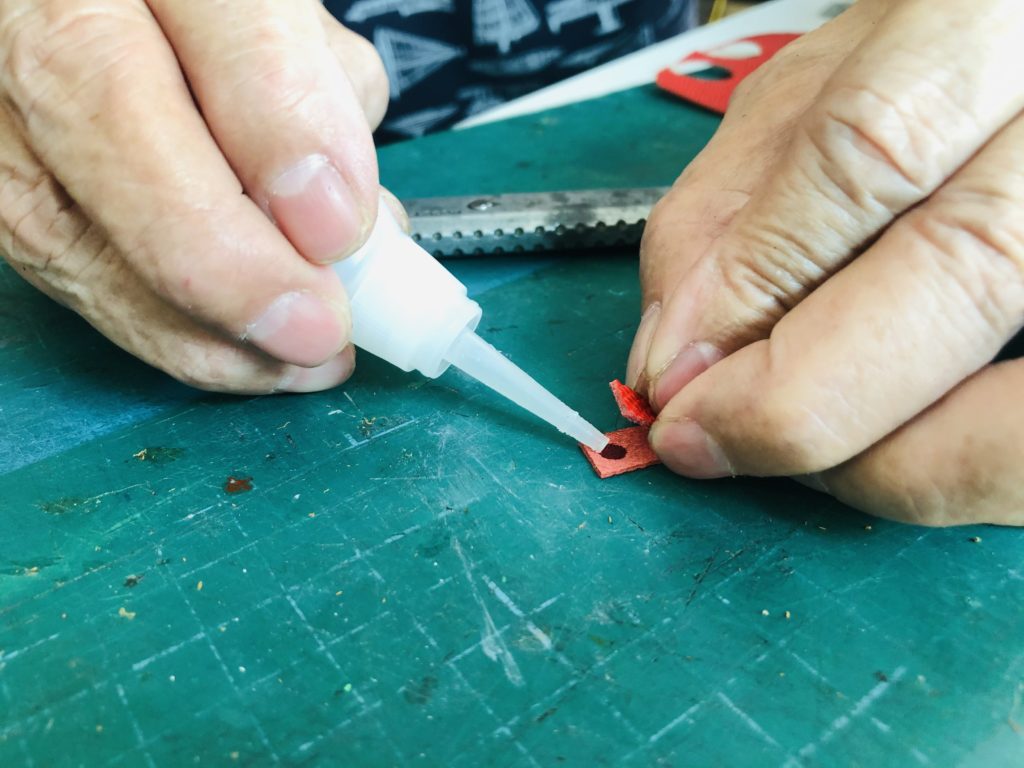
Again, our desired outcome is to not have the ends join for perpetuity, we simply want to ensure alignment that makes the rest of the steps as simple as possible.
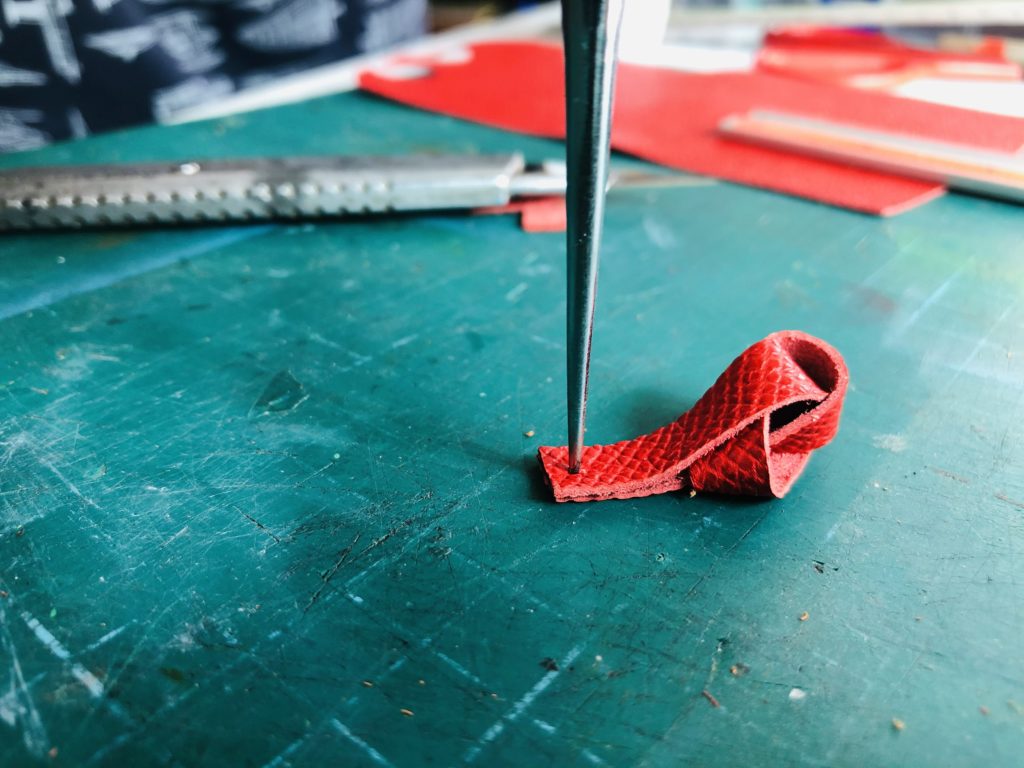
6. Use Awl to form Hole through Earring Ends
With your earring ends on top of one another (whether glued together or not), place your awl directly on top of the ends and press a hole through both ends of the earring.
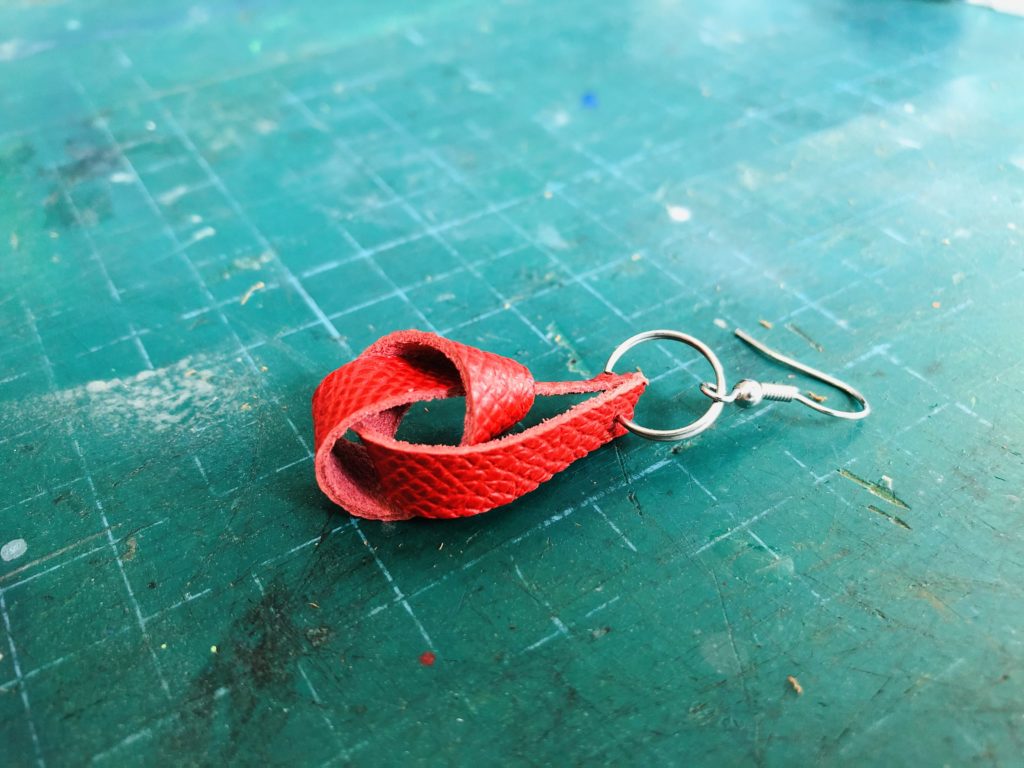
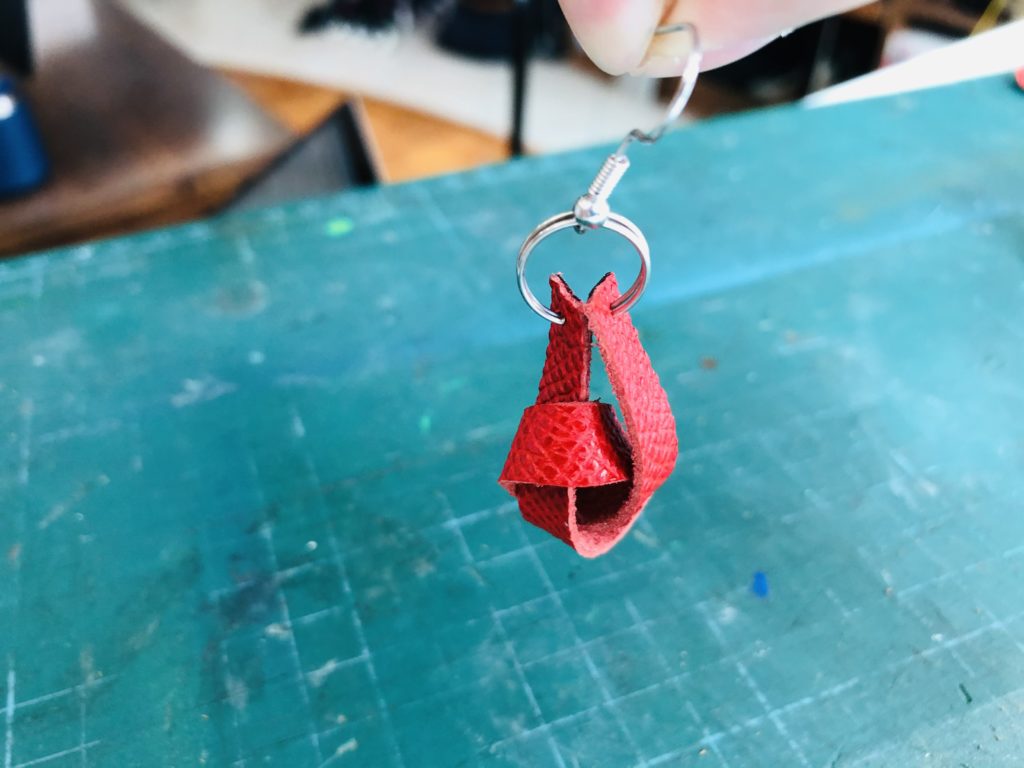
7. Attach Metal Ring and Hook through Hole
A relatively self explanatory step; the hole you had just formed with your awl is your entry point for your metal ring and hook. Once attached, your leather knot earring is now ready to be worn.