How to Make Leather Stud Earrings
Leather Stud Earrings are one of the simpler style of earrings to make. Even if you are just beginning your craftsman journey, I am confident you will be able to confidently make a variety of stud earrings that you can be proud of by the end of this guide.
Not only is it simple to make, the tools that you will require to do so are extremely accessible and inexpensive. You do not need any sort of intricate machinery or tools that might set your wallet back. You can even use scrap leather here as I have done to minimise any material wastage. Here is what you will need to get started.
Tools Required:
- Mallet
- Hole puncher (2 sizes optional)
- Strong adhesive
- Toothpick
Materials required:
- Small piece of leather
- Stud Earring Hook
In short, the steps that I undertook for this process are as follows.
- Choosing a Leather Base
- Cut out Piece of Leather with Mallet and Hole Puncher
- Apply Adhesive on Metal Stud and Stick on Leather Piece
- Repeat Steps 1 – 3 with Smaller Hole Puncher
- Stick Smaller Leather Piece on Main Base with Adhesive
- Leave Leather Stud Earring to Dry
For this guide, I used 2 different sizes of hole punchers to achieve a slightly unique cosmetic through overlaid leather. Feel free to skip this step if that is not the effect that you are looking for.
1. Choose Leather Base
How your leather stud earrings will end up looking will be largely depending on your choice of base and any decorative elements you are able to impart on it. For this guide, I am using a textured red base leather which I really like the look of.
If you have scrap leather that is not necessarily visually appealing, you can look at potentially doing some decorative steps, such as painting or embellishment.
If you are looking to decorate your leather earring, consider doing it on the leather sheet before cutting. This is because the actual leather you will punch out will be relatively small, which might make intricate work more challenging.
2. Cut out Piece of Leather with Mallet and Hole Puncher
We would want to ensure that the cut lines are clean. Hence, you would need to exert a moderate amount of force with the Mallet to hammer down on the hole puncher, placed on the leather sheet.
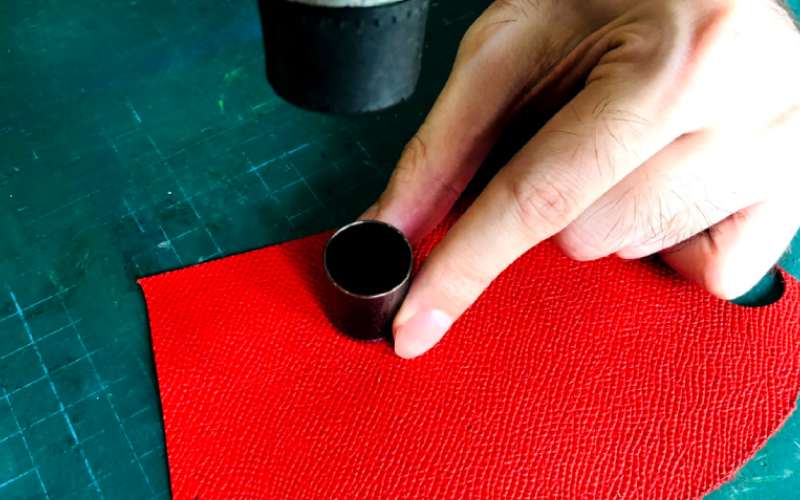
Please do ensure that your fingers are safe away from the top portion of the hole puncher, where the mallet will make contact. In this case, I was using a circular puncher, I imagined a four quadrant division of the puncher and ensured to work the mallet equally across the four quadrants.
I would also recommend that you do this step over a dedicated workstation. You do not want your puncher going through the leather and cutting into and damaging a tabletop for instance.
3. Apply Adhesive to Metal Stud and Stick on Leather Piece
Now that we have defined a piece of beautiful looking leather that will be the main body of your leather stud earring, we need to start the assembly process. Apply a strong adhesive to the metal stud portion, and overlay the leather piece that we had just cut out over the glued stud. You can use a toothpick to ensure an even spread of adhesive across the metal stud.
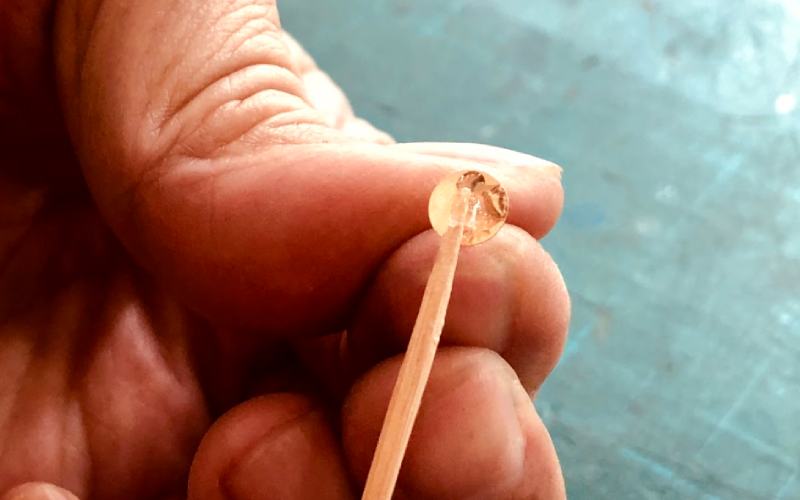
We will always want to apply the adhesive to the stud and not directly on the leather itself. This is to ensure that the surface area in contact between the metal stud and leather piece is fully glued, doing in the other way might introduce an unintended error margin.
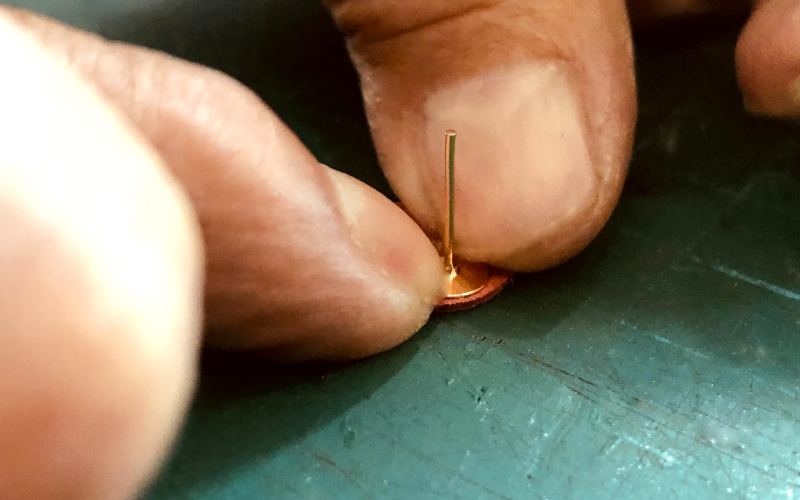
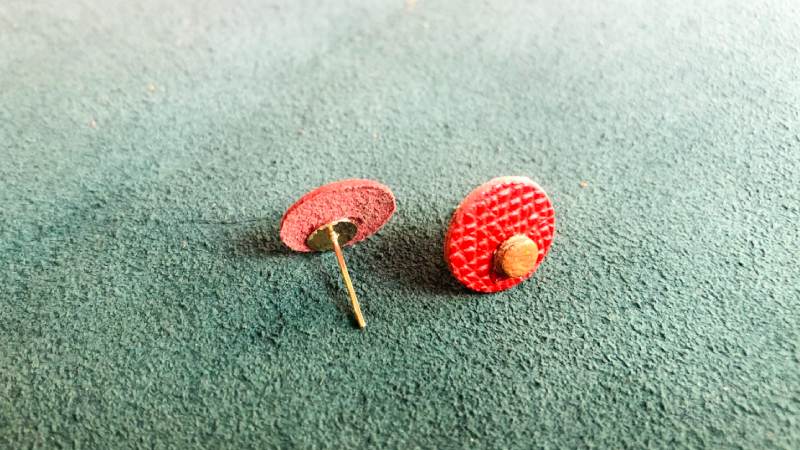
In terms of positioning, I recommend to do an off centre joining of the pieces. This will help ensure that the leather piece hangs off the ear. If your leather piece is too big and you stick the stud to the centre of the piece, the leather piece might come into contact with a ear’s anti tragus which might prove to be uncomfortable.
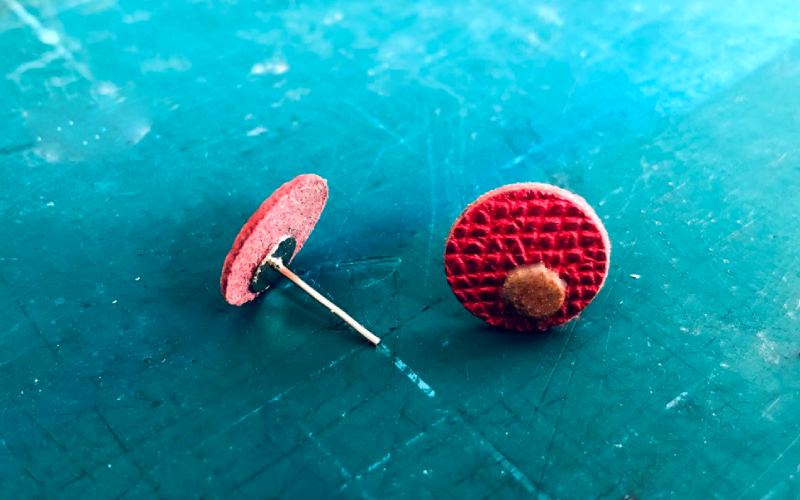
4. Repeat Steps 1 – 3 with Smaller Hole Puncher
For this step, I recommend choosing a different coloured and textured leather base to create a nice contrast between leather pieces. I had some brown scrap leather lying around which I like the look of when overlaid against the deep red main leather base.
5. Use Adhesive to Stick Smaller Leather Piece to Earring Base
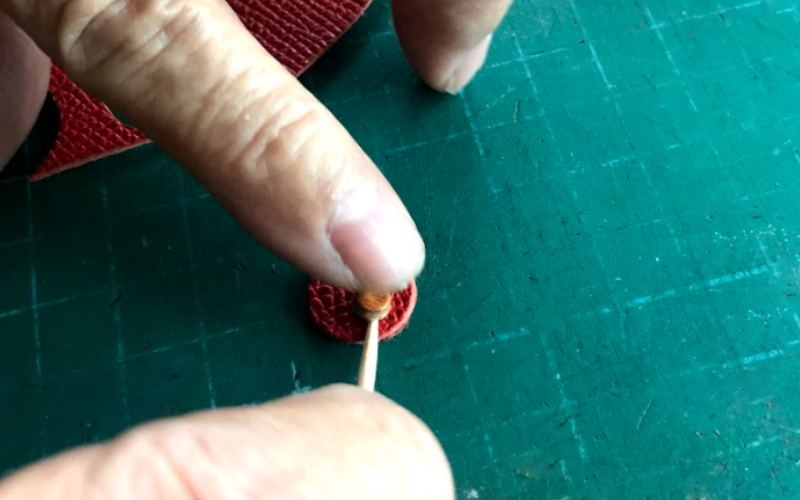
For this step, use the toothpick to apply a thin layer of adhesive on the underside of the smaller leather strip. It is important to not over apply adhesive here as excess adhesive might be pushed out onto the front side of the main leather piece, potentially causing an unwanted visual mark.
6. Leave Leather Stud Earring to Dry
The last step of the process, you want your leather earrings to be fully dry before having someone wear them. I would recommend placing your leather earrings in a cool, dry spot for 3 – 4 hours at least.
Do not leave your earrings in sunlight as that can both damage your earrings as well as slow down the glue drying process.